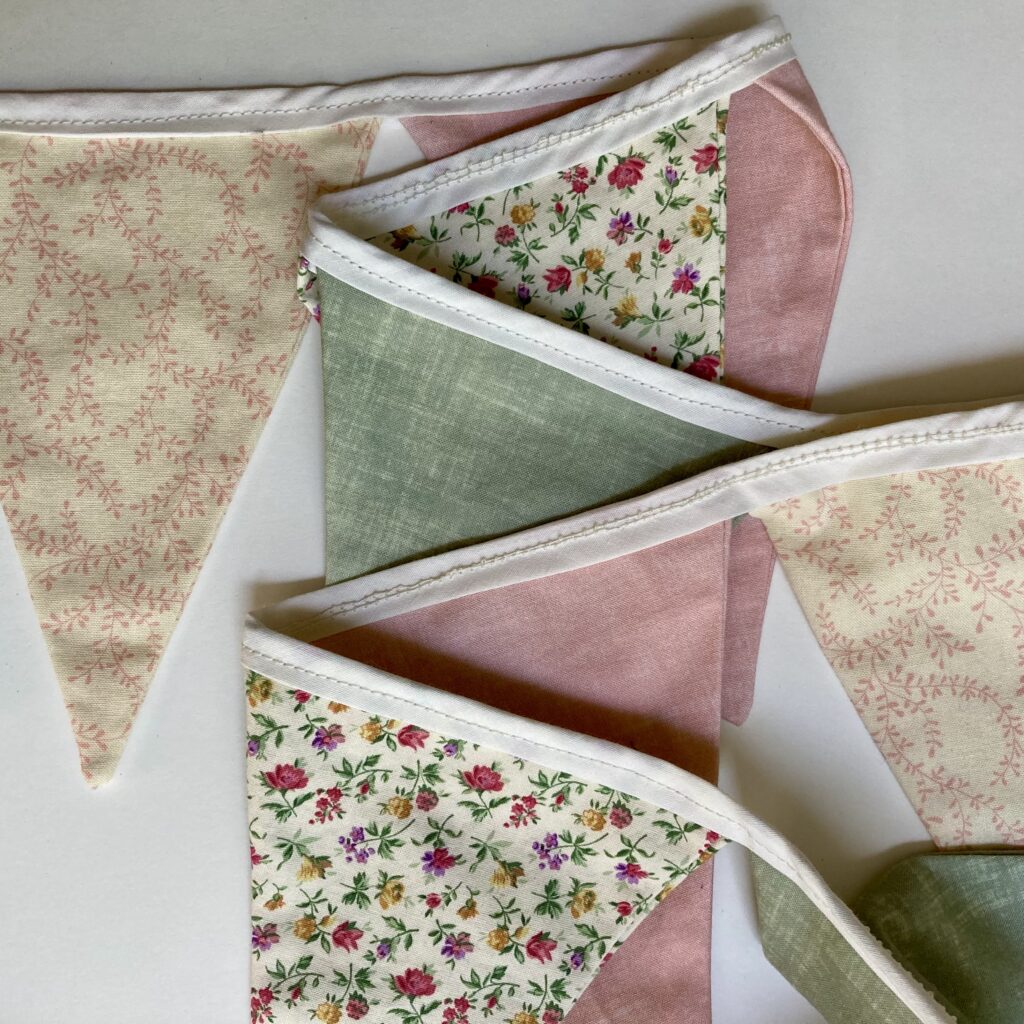
Learn how to sew adorable, double-sided bunting in this easy step-by-step tutorial. Bunting is the perfect decoration for any party, nursery, playroom, or bedroom!
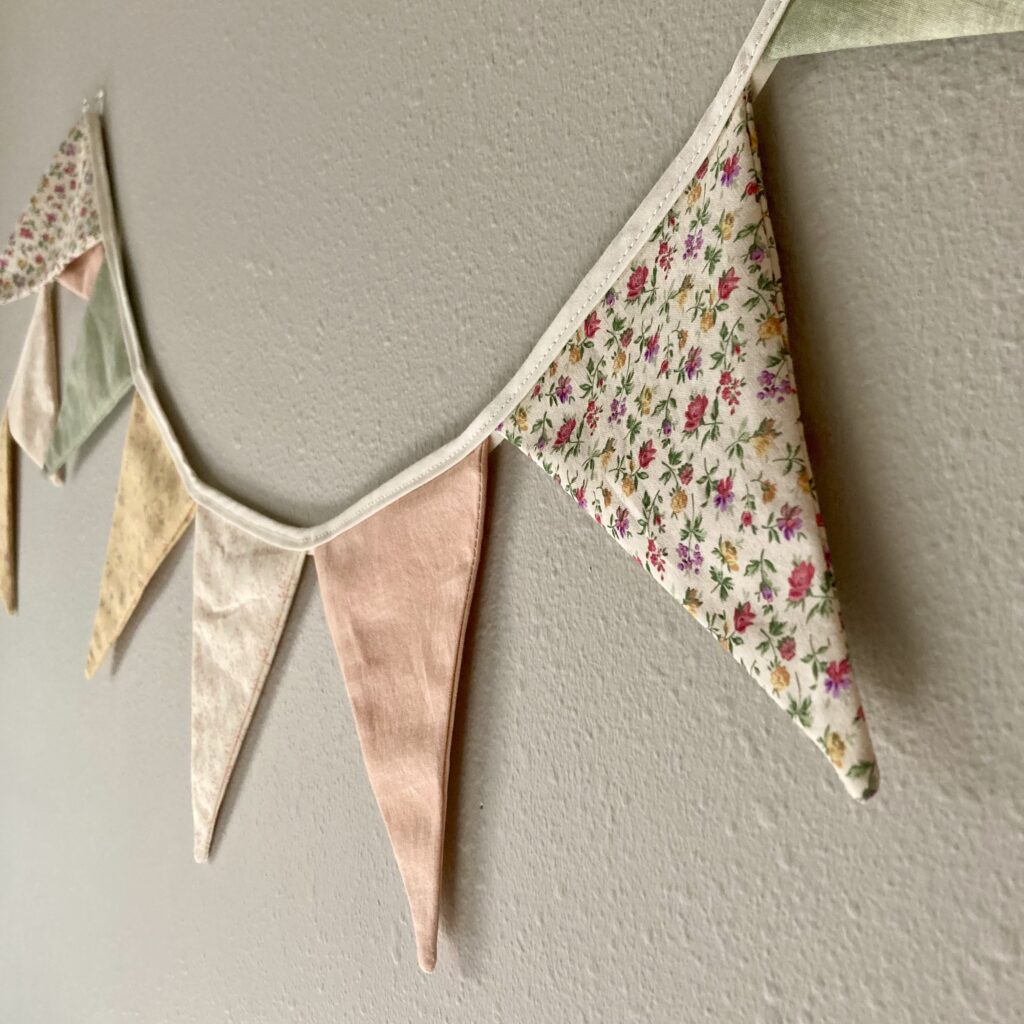
Bunting is the perfect, easy, sewing project for all sewers alike (no matter the skill level)!
Not only is bunting easy and quick to make, but it is a perfect way to use up pieces of scrap fabric AND it makes an adorable decoration.
Personally, I enjoy not only using bunting as a decoration in my children’s bedroom, but I also enjoy using it for a birthday party decoration!
In fact, each of my children have their own special bunting banner that gets taken out on the day of their birthday.
It’s my hope that this creates sweet memories for my children as they look back on their special days with their “special banners” hanging proudly on the walls.
But, that’s enough about me! Let’s learn how to sew bunting.
Materials
- Fabric (may be different colors or different types of fabric)
- Bias tape
- Thread (that matches the bias tape)
- Bunting Pattern
- Sewing Machine
- Fabric Scissors or Rotary Cutter & Mat
- Bunting Pattern (see below)
Step One- Download the Pattern
For your convenience, I created 2 free pdf bunting pattern downloads! These downloads have the bunting triangles (w/ a seam allowance) printed onto them.
There are two sizes: a “regular” sized bunting triangle and a “mini” sized bunting triangle. Download your preferred size by clicking the buttons below:
No printer? No problem!
Here are the dimensions of the two triangles (seam allowance included):
Regular sized bunting: 7.5 x 7.5 x 5.5 inches
Mini sized bunting: 4.5 x 4.5 x 3.5 inches
Simply cut out the bunting triangles according to the sizes listed above.
Step Two- Gather the Supplies
Once the patterns are printed out, you can gather the rest of the supplies. You will need:
- Fabric
- Bias Tape
- Thread
- Sewing Machine
- Fabric Scissors or Rotary Cutter & Matt
The amount of fabric and bias tape that you need will depend on how long you want the banner. Here is an easy breakdown to help you calculate how much fabric and bias tape you will need:
Note: these directions apply for both the regular sized and mini sized bunting.
Before figuring how much fabric and bias tape is needed, you will first need to decide how long the banner will be. In this example, we will be using a banner that is 1 yard long.
Generally, you can factor to need 0.75 yards of fabric for every yard of the banner. However, you can mix and match fabrics to reach the 0.75 yards!
Now, it is time to figure out how much bias tape is needed.
First, the length of the banner will need to be converted into inches. In this case, 1 yard = 36 inches.
Next, decide how much of the bias tape you would like to hang off of each end of the banner. I recommend 20 inches (this is just long enough to tie a small bow onto each end of the banner, or to tie the banner to a pole or a hook).
Once that amount is decided, multiply it by 2 (to factor in both sides of the banner). Then, add it to the total length of the banner.
2 x 20 = 40
40 + 36 = 76
This means that you will need a total of 76 inches of bias tape (or 2.1 yards).
Step Two- Cut the Fabric
Next, it’s time to calculate how many triangles will have to be cut out of the fabric. This will vary depending on which bunting pattern is being used (regular sized or mini).
Regular Sized Bunting
To begin, the base of each regular sized bunting is 5 inches long.
Now, remember that we are going for a banner that is 1 yard long (or 36 inches.) So, we want to divide the length of the banner by the length of each triangle to find out how many triangles are needed.
36 / 5 = 7.2
So, 7 total triangles will be in the banner. However, this banner is double sided, so we will need to multiply that number by 2 in order to factor for both sides.
7 x 2 = 14. 14 total triangles will need to be cut from the fabric for a bunting banner that measures 1 yard long with the regular sized bunting.
Mini Sized Bunting
The base of each mini sized bunting triangle is 3 inches long.
In this example, we will still be working with a pattern that is 1 yard long. (1 yard = 36 inches.)
Divide the length of the banner by the base of each triangle.
36 / 3 = 12
So, 12 total triangles will be in the banner. Multiply this number by 2 in order to find out how many triangles will need to be cut for the double sided bunting.
12 x 2 = 24. 24 total triangles will need to be cut from the fabric to fill a banner that is 1 yard long with the mini bunting pattern.
Now, use the free patterns provided to cut out the number of triangles that will be needed to fill your specific banner length.
Note: if you are using multiple different patterns of fabric, cut them out to have matching sides. (So, cut out 2 triangles from pattern A, 2 triangles from pattern B, 2 triangles from pattern C, etc.)
Step Three- Sew the Fabric
Now, it is time to sew the fabric!
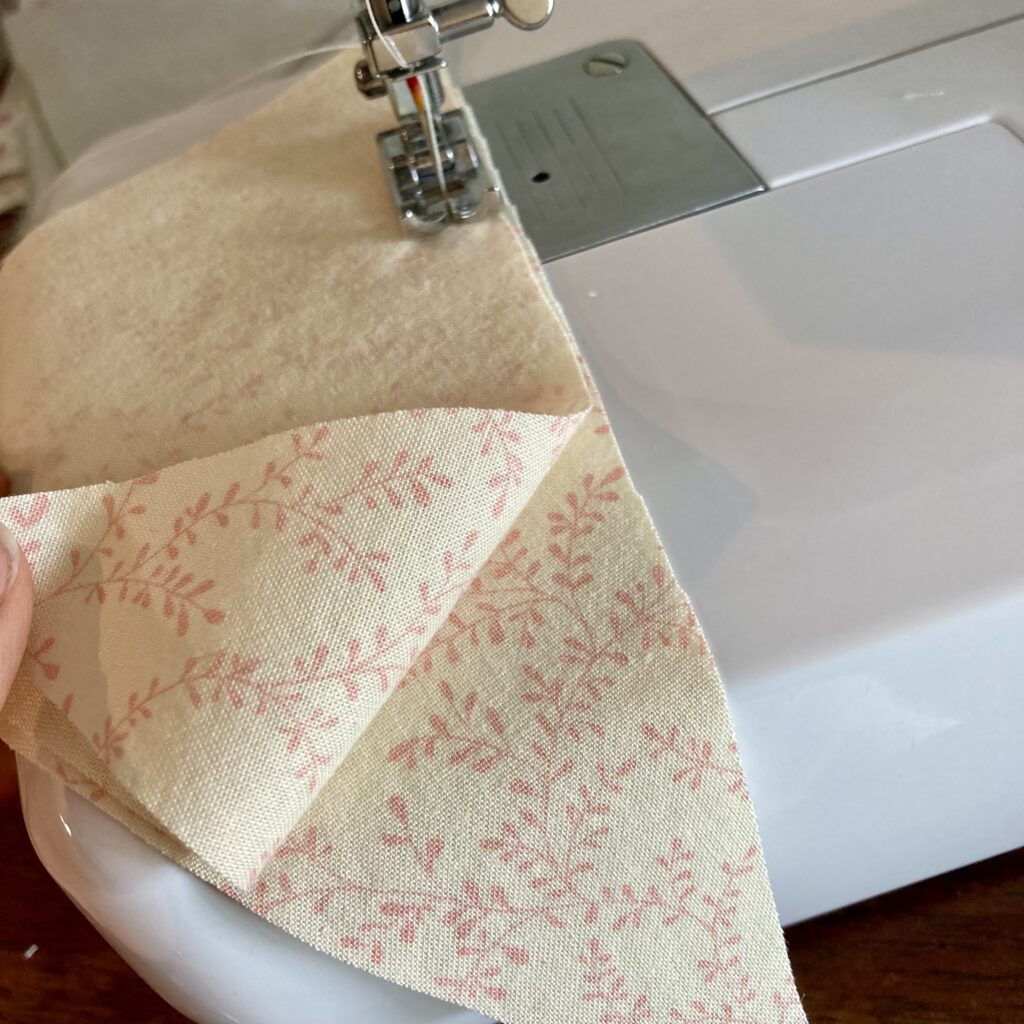
To begin, place 2 bunting triangles (of the same fabric type) together with their face sides matching (as shown in the picture below).
Then, sew along the 2 long sides of the triangles with a 1/2 inch seam allowance. Leave the base (the short end of the bunting) un-sewn.
The bias tape may also need to be sewn together if more than one piece of bias tape is required.
To sew the bias tape, first unroll the ends of both sides of the bias tape so that they lay flat. Lay the two pieces of bias tape together with the tops of the tape facing each other. Sew the two ends together with a 1/2 inch seam allowance.
Once they are sewed together, open up the bias tape. Iron the seam flat.
Step Four- Trim the Excess Fabric
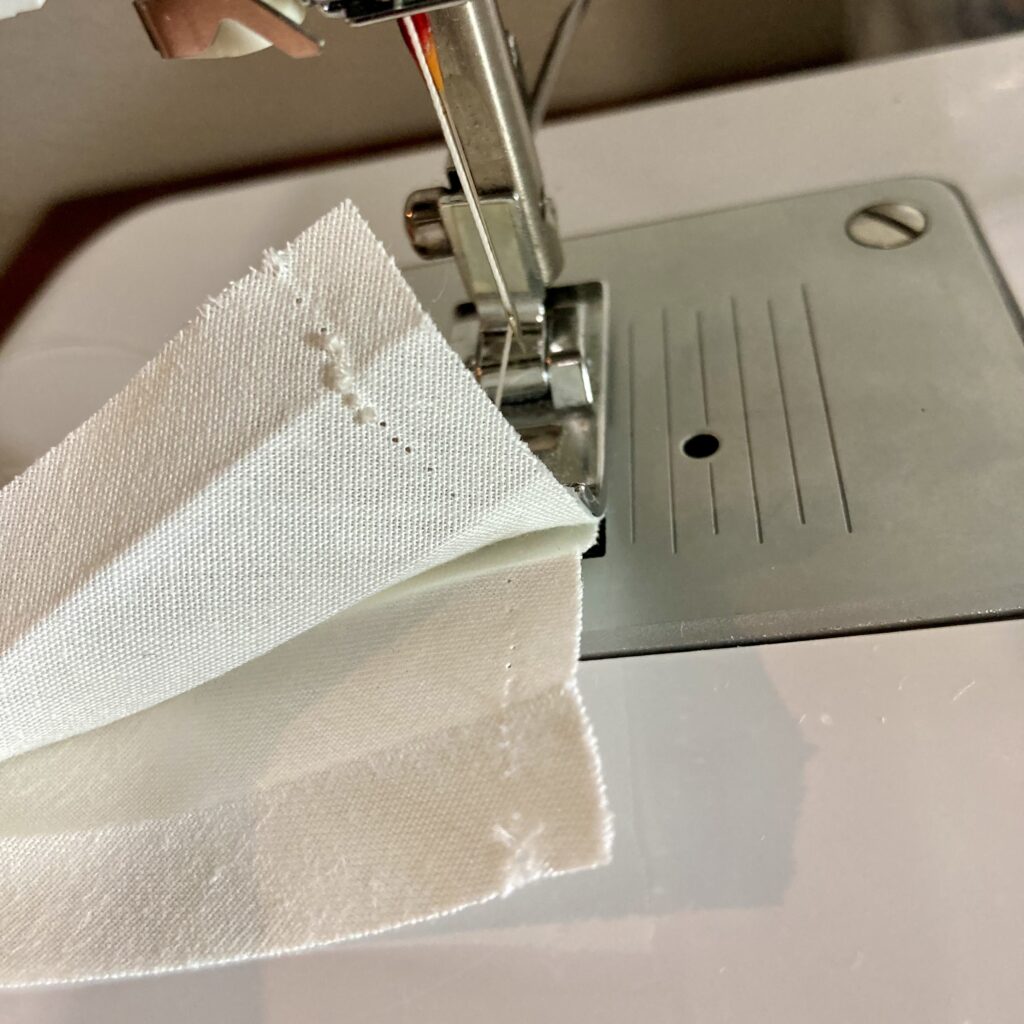
Once all banner pieces are sewn, trim the end of each bunting triangle as shown below (this helps to reduce fabric bulk at the bottom of the triangles).
Then, turn each triangle inside out so that the pretty sides of the fabric are now facing out. Iron the seams of each triangle so that they lay flat.
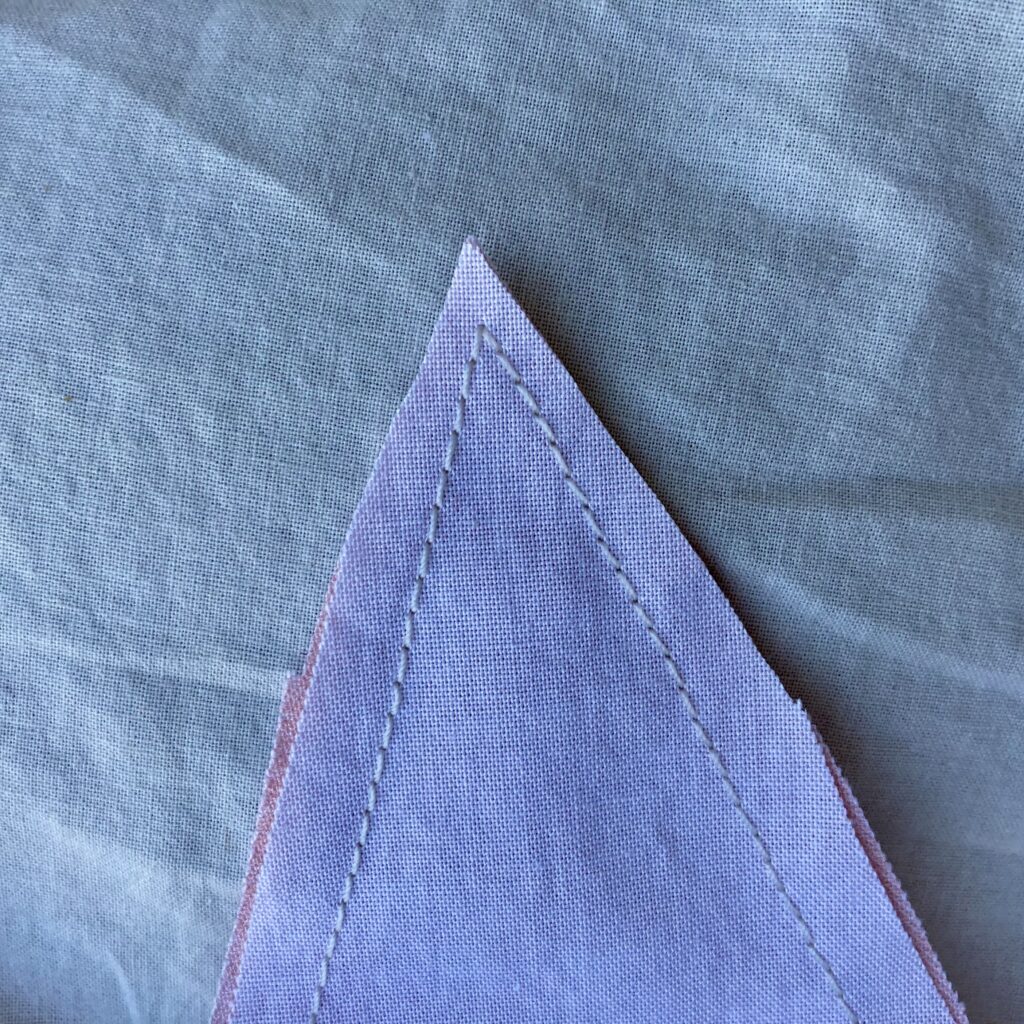
Once the triangles are turned inside out and ironed flat, there will most likely be extra fabric sticking out of the ends of unsewn seams.
Trim this extra fabric so that the base of each triangle follows in a straight line.
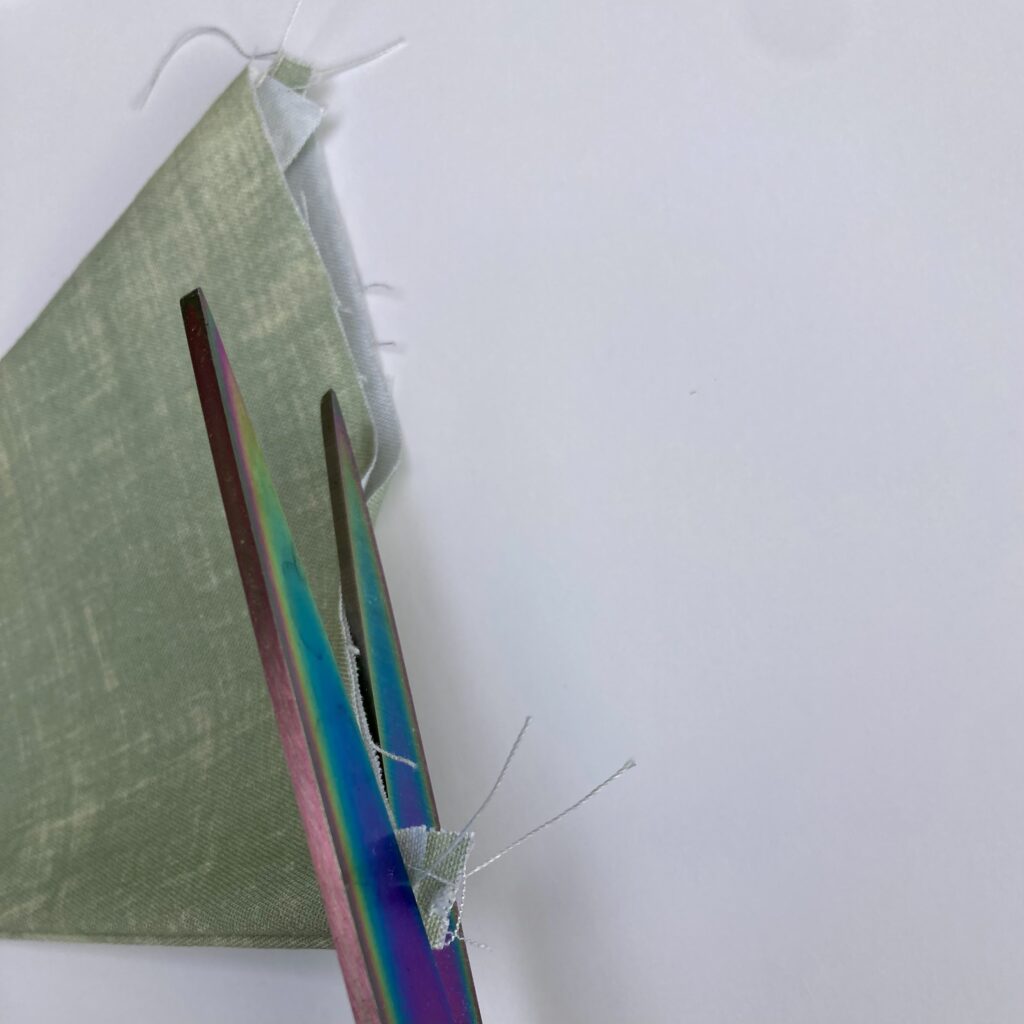
Step Five- Sew the Bunting Banner
Next, it’s time to sew the banner together!
If multiple types of fabric are being used, first lay them out in the pattern desired.
Then, take the bias tape and measure out how much fabric you had planned to hang out from each end of the banner. Measure this length and mark it on the bias tape so that we know where to place the first triangle.
Open up the bias tape (just enough so that the raw seams are still facing inward). Lay the first triangle where the tape was marked. The base of the triangle should lay in the center of the bias tape.
Sew the triangle in place, then lay the next triangle down. Sew the next triangle in place and so on.
Note: it may be helpful to lift up the presser foot in between each triangle. This can help to keep the corners of the triangle from folding over (be sure to keep the needle in the fabric as the foot raises in order to prevent the thread from becoming uneven).
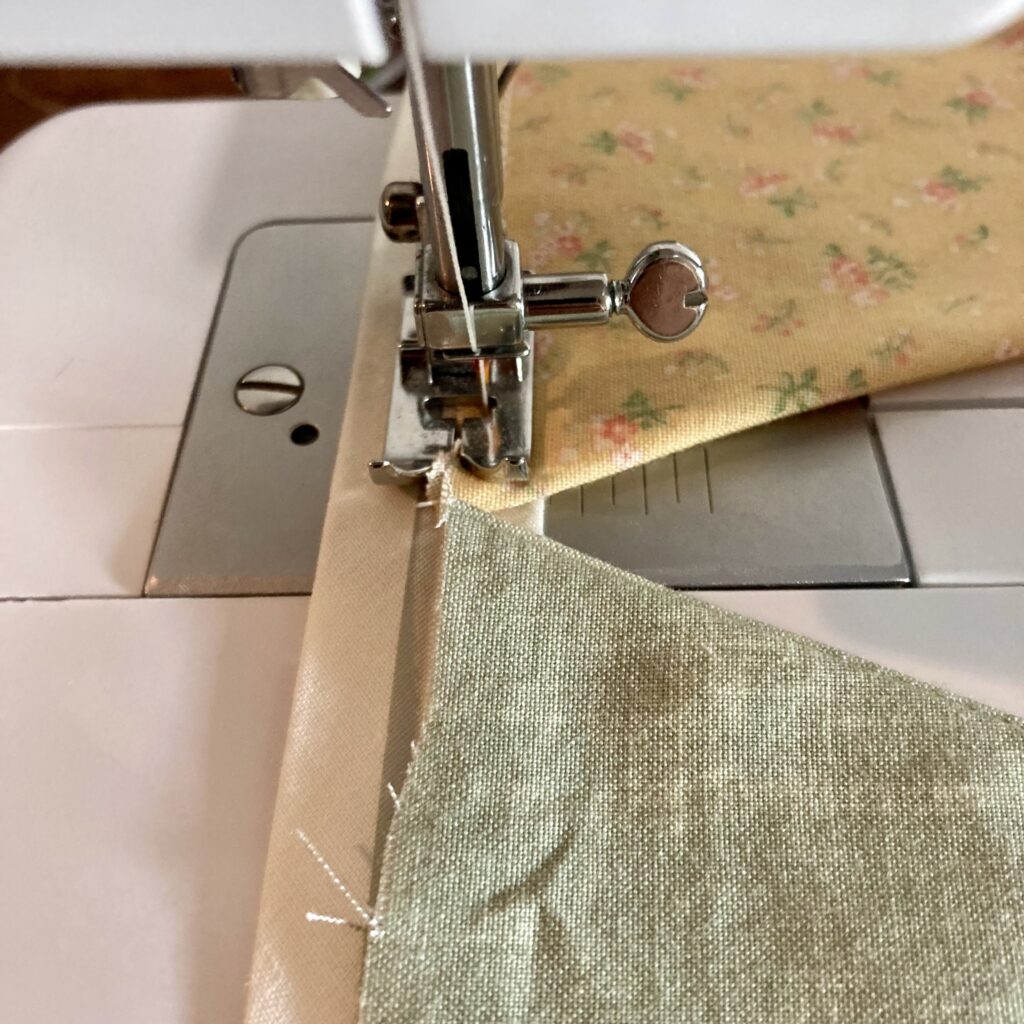
Once all of the triangles have been sewn on, it is time to sew the bias tape over.
To do this, first fold the bias tape back over the bases of the triangles and iron it in order to create a nice seam.
Then, sew the bias tape closed. It can either be sewn along the previous thread line on the tape or it can be sewn along the open end of the bias tape.
And, ta-dah! You now know how to sew bunting!
Happy crafting!
