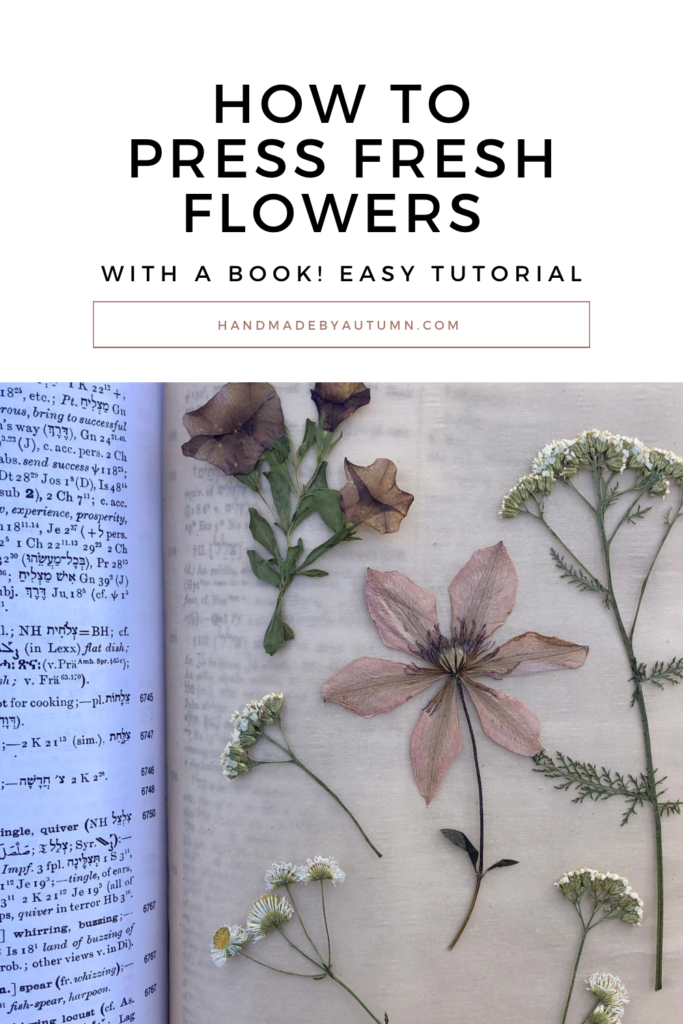
Pressing fresh flowers with a book is an incredibly fun and easy hobby to have! This DIY tutorial walks you through the tried-and-true method of pressing real flowers with a book. Grab some flowers and try it out with me today!
* * This page contains affiliate links. This means that if you order a product using one of the links on this page, I will receive a small commission at absolutely no extra cost to you. This is what allows me to continue creating content for you. Thank you and happy crafting! : ) * *
I love God’s beautiful creation. I also love that He granted us the ability to not only enjoy His creation, but to steward it as well.
This past spring, my husband and I moved from an apartment into our first little townhome. And, this townhome came with a lovely, quaint little garden out back. The owners of the townhome told us that we could either tend to the garden or they would dig it up and plant grass instead.
Immediately, I jumped at the opportunity to tend to and care for this little garden. And, oh boy, it was a joy!
But, as nature has it, the garden flowers began to die off as the summer came to a close.
However, I was so, so grateful that I took the opportunity to preserve some of it’s beauty by pressing the flowers that once bloomed in the summer sun.
Now, I want to share this lovely method of flower preservation with you as well!
Materials Needed to Press Fresh Flowers with a Book
There are only a few simple materials needed to press flowers with a book- most of which you may already have on hand!
These materials are:
- Fresh Flowers
- Scissors
- Heavy books, and
- Absorbent Paper (such as newspaper or parchment paper)
Tips For Pressing Fresh Flowers with a Book
- Pick the best flowers! For the best results, choose flowers that are close to bloom or at peak bloom. Flowers with spots or blemishes should be avoided as well.
- Make sure the flowers are dry. Moist flowers can mold, ruin the pages of the book, or simply take a long time to fully dry. Avoid moist flowers by picking flowers without dew on them or by allowing the flowers to air dry for a short amount of time before pressing them.
- Reconstruct thick flowers. Drying a thick flower (such as a peony) may break the spine of the book. Consider removing the petals of thick flowers for drying, and then reconstructing the flower later.
Another viable option is to cut the flowers in half before pressing. However, this method only works well with certain flowers (such as roses), so proceed with caution. - Don’t let the flowers over lap as they dry. Prevent this by giving the flowers plenty of space as you lay them down. And, be careful to not shift the flowers from their location as you close up the book.
- Put plenty of weight on top of the flowers. The flowers will need a decent amount of weight placed on top of them in order to help them dry flat. For the best results, place the flowers towards the back of the book. Placing extra books or weight on top of the flowers is a good idea as well.
FAQ’s
Which types of flowers are best for pressing?
The best flowers for pressing are those that have only a single layer of petals. Flowers with only a single layer of petals are typically able to lay flat nicely and dry quickly.
However, there are some tricks for drying flowers that do not easily lay flat:
- Remove the petals of the flower before drying. Then, reconstruct the shape of the flower once all of the pieces are completely dry.
- Cut the flower in half before drying. However, it is important to note that this method will only work with flowers that hold their shape after being cut (such as roses).
What is the best paper to use for pressing flowers with a book?
Parchment paper and newspaper are great options to use for pressing flowers. You may also use coffee filters, blotting paper, or any other type of paper with absorbent qualities as well.
Avoid using wax paper for drying flowers, as wax paper will not be able to properly absorb the water.
Avoid paper towels or any type of “imprinted” paper. If used, the texture on these types of papers may show up on the dried flowers.
How long does it take to dry fresh flowers in a book?
It can take anywhere from 1-4 weeks to press fresh flowers with a book.
The drying time will largely depend on the moisture content of the flowers. Thin and dainty flowers will need less time to dry. While larger, thicker flowers will need more time to dry.
I recommend checking the dryness of your flowers after 2 weeks if you are unsure as to how long to wait.
Is pressing flowers the same as drying them?
Pressing flowers is one method of drying flowers.
A pressed flower is a dried flower that is very flat in shape. However, it is also possible to dry flowers while allowing them to maintain their original shape.
Can pressed flowers get moldy?
Pressed flowers can get moldy. To avoid this, use flowers that do not have a high moisture content. Avoid pressing flowers that have dew or moisture on them as well.
Can I buy pressed flowers instead?
Buying pre-pressed flowers is a wonderful option for those who don’t have the time to press their own! Here are a few wonderful options for buying pre-pressed, dried flowers:
- Pressed Flowers Bulk Dried from Amazon
- Resiners 100Pcs Dried Pressed Flowers from Amazon
- 100 PCS Set Pressed Flowers from Etsy
- Dried Pressed Flowers and Leaves from Etsy
What can I do with pressed flowers?
Pressed flowers can be used for so many fun projects! Here are a few ideas:
- Glue or tape them into a book. Mark the date and place that you received the flower (as well as who gave it to you). This can be a great little memorabilia for the flowers that loved ones or your children have gifted you throughout the years.
- Make them into wall art! Dried flowers can be a beautiful, yet simple décor.
- Make them into a greeting card. The only thing better than gifting someone with a heartfelt present is to gift a sweet, homemade card with it. Check out my tutorial for homemade dried flower cards here.

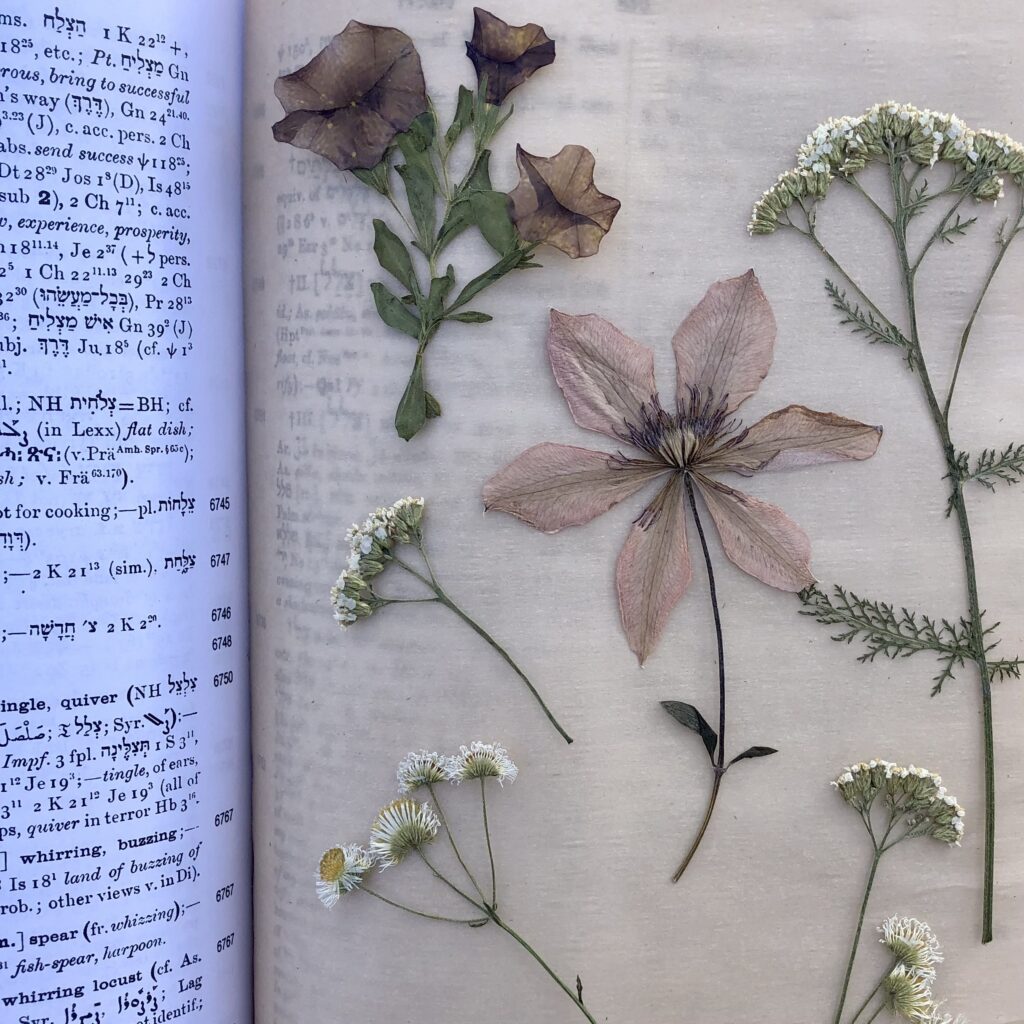
How to Press Fresh Flowers With a Book
Materials
- Scissors
- Heavy Books
- Absorbent Paper
- Fresh Flowers
Instructions
- Begin by preparing your flowers! Choose flowers that are close to bloom or at full bloom and free of marks/blemishes. Remove petals from the flowers if desired.
- Next, prepare 2 sheets of absorbent paper (parchment paper is a fantastic option). Then, open up a large book towards the back of the book. Lay one piece of absorbent paper on top of one of the book pages.
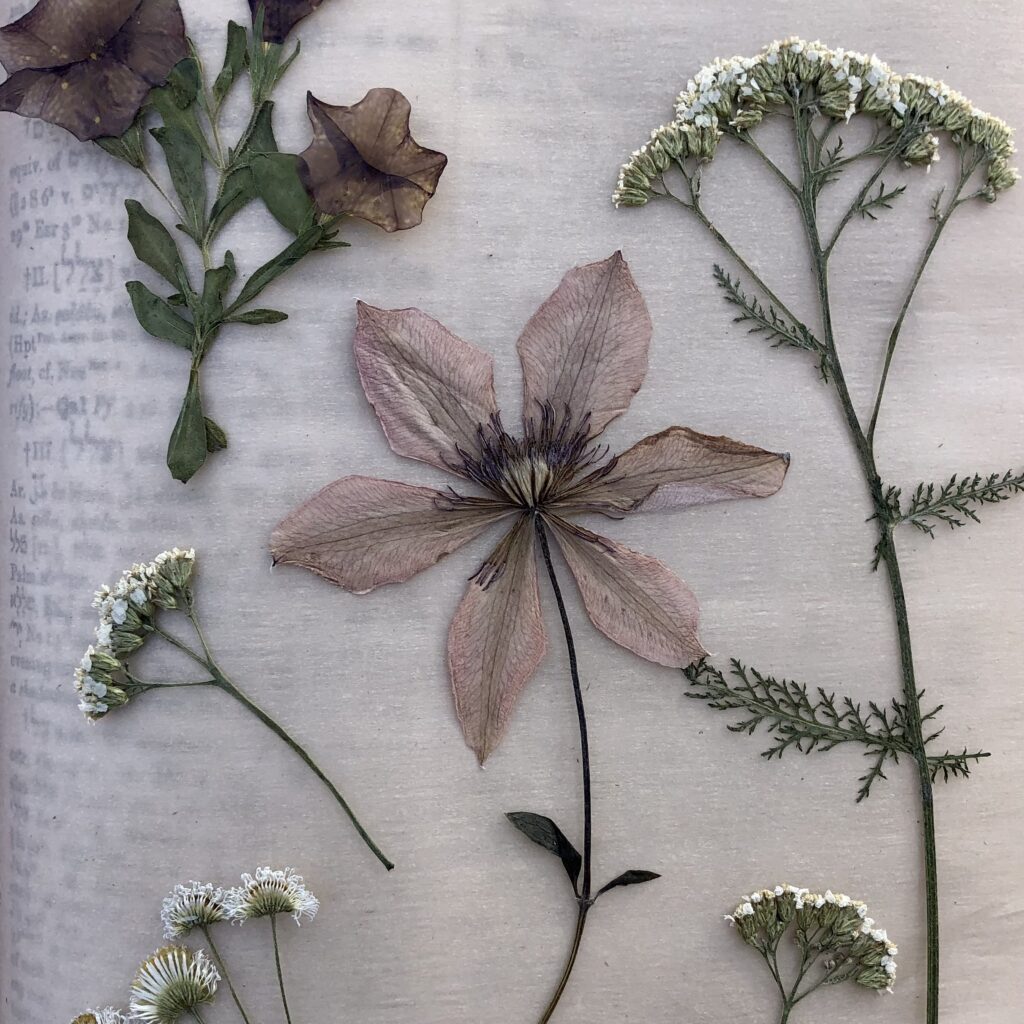
- Now, carefully arrange the flowers on top of the absorbent paper. Make sure to leave enough room in between the flowers in order to prevent them from over-lapping. Use your fingers to lightly press the flowers so that the "pretty" side is facing up and the petals are spread out nicely. Note: How the flowers lay while they are drying is how they will look once they are dried.
- Carefully place the second piece of absorbent paper on top of the flowers. Then, carefully close the book. Make sure that the flowers do not move or change position as you do this.
- Allow the flowers to sit undisturbed for 1-4 weeks. Wait 1 week for thin, small flowers and up to 4 weeks for thick flowers. If you are unsure as to how long to wait, check the flowers after 2 weeks. They should be completely dry and paper thin once done. Then, enjoy your newly pressed fresh flowers!
Did you make this craft? I would love to see it! You can email it to me directly at autumnshandmade@gmail.com or you can tag/dm on Instagram (link below!) : )