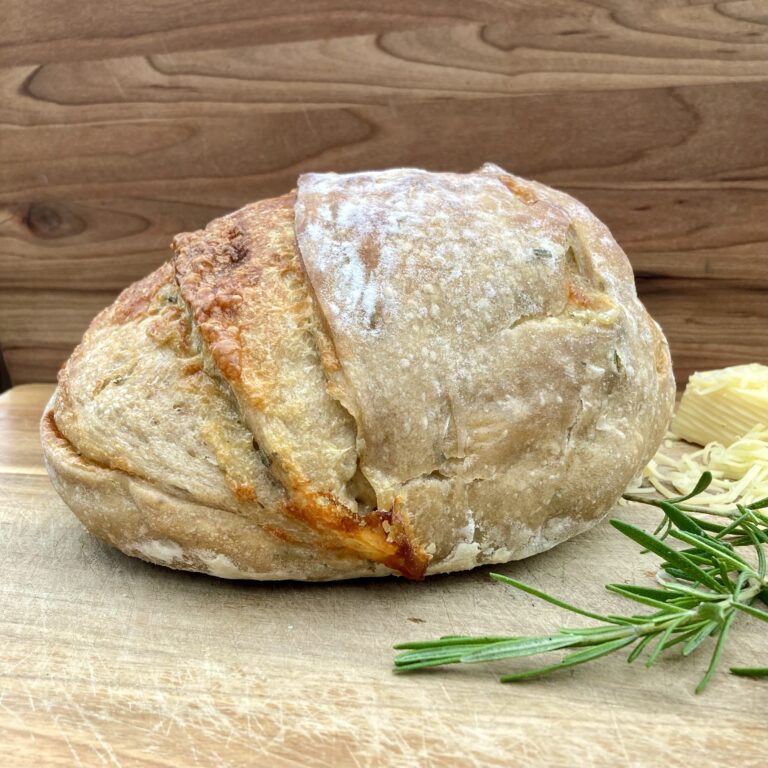
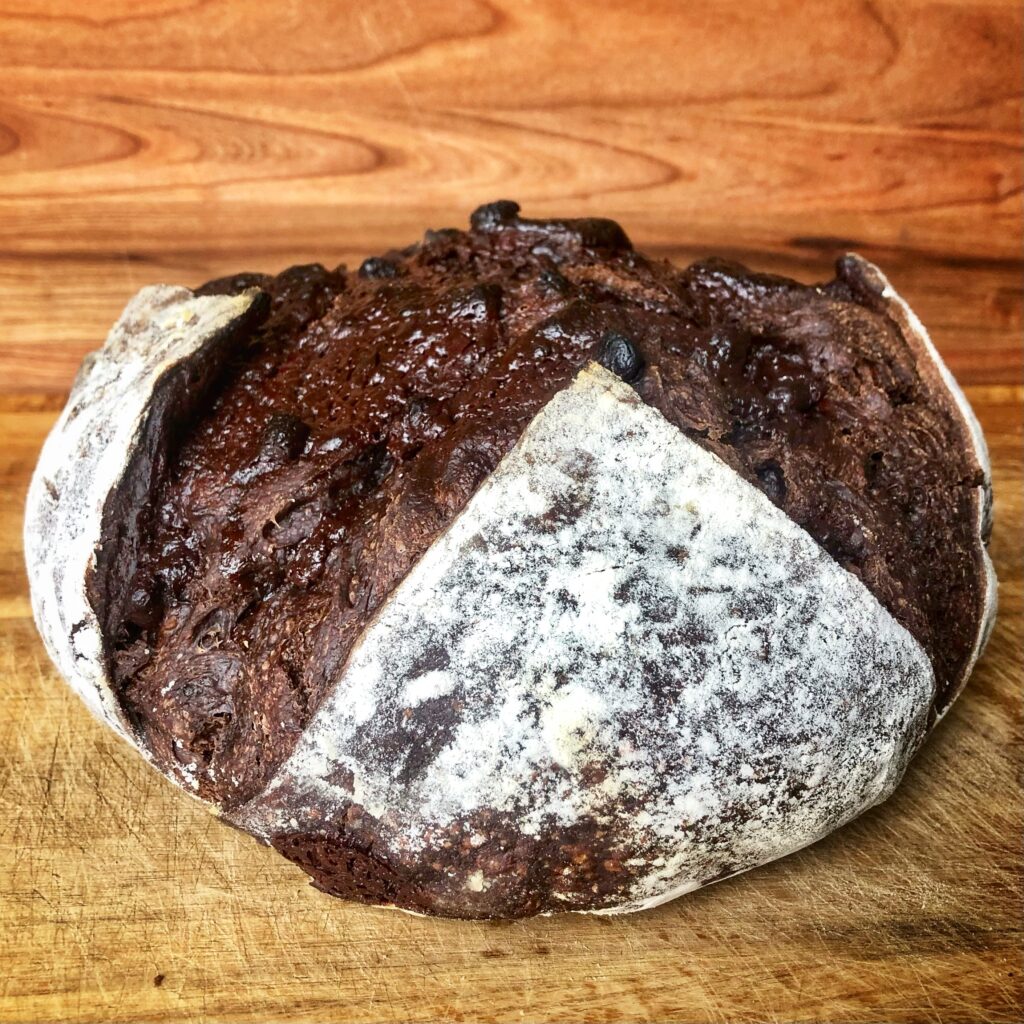
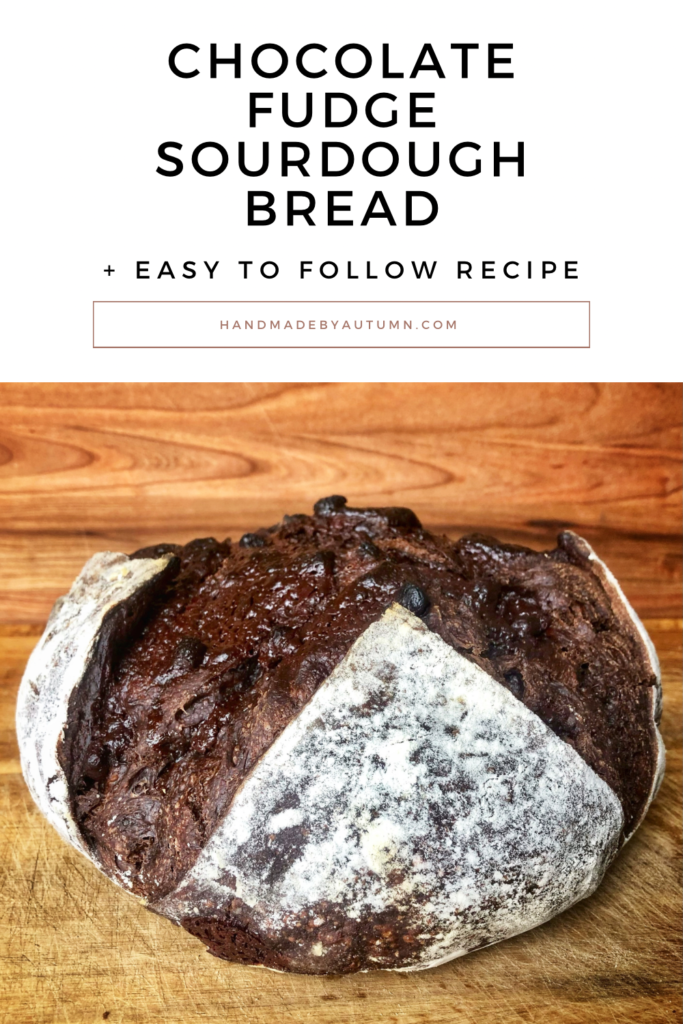
This chocolate fudge sourdough bread boasts of mighty flavors that are sure to melt in your mouth. Between the tangy taste of sourdough and the sweetness of fudge layered throughout the bread- what isn’t there to love?! Your taste buds will be dancing in delight upon every bite of this delectable boule.
My, oh my.
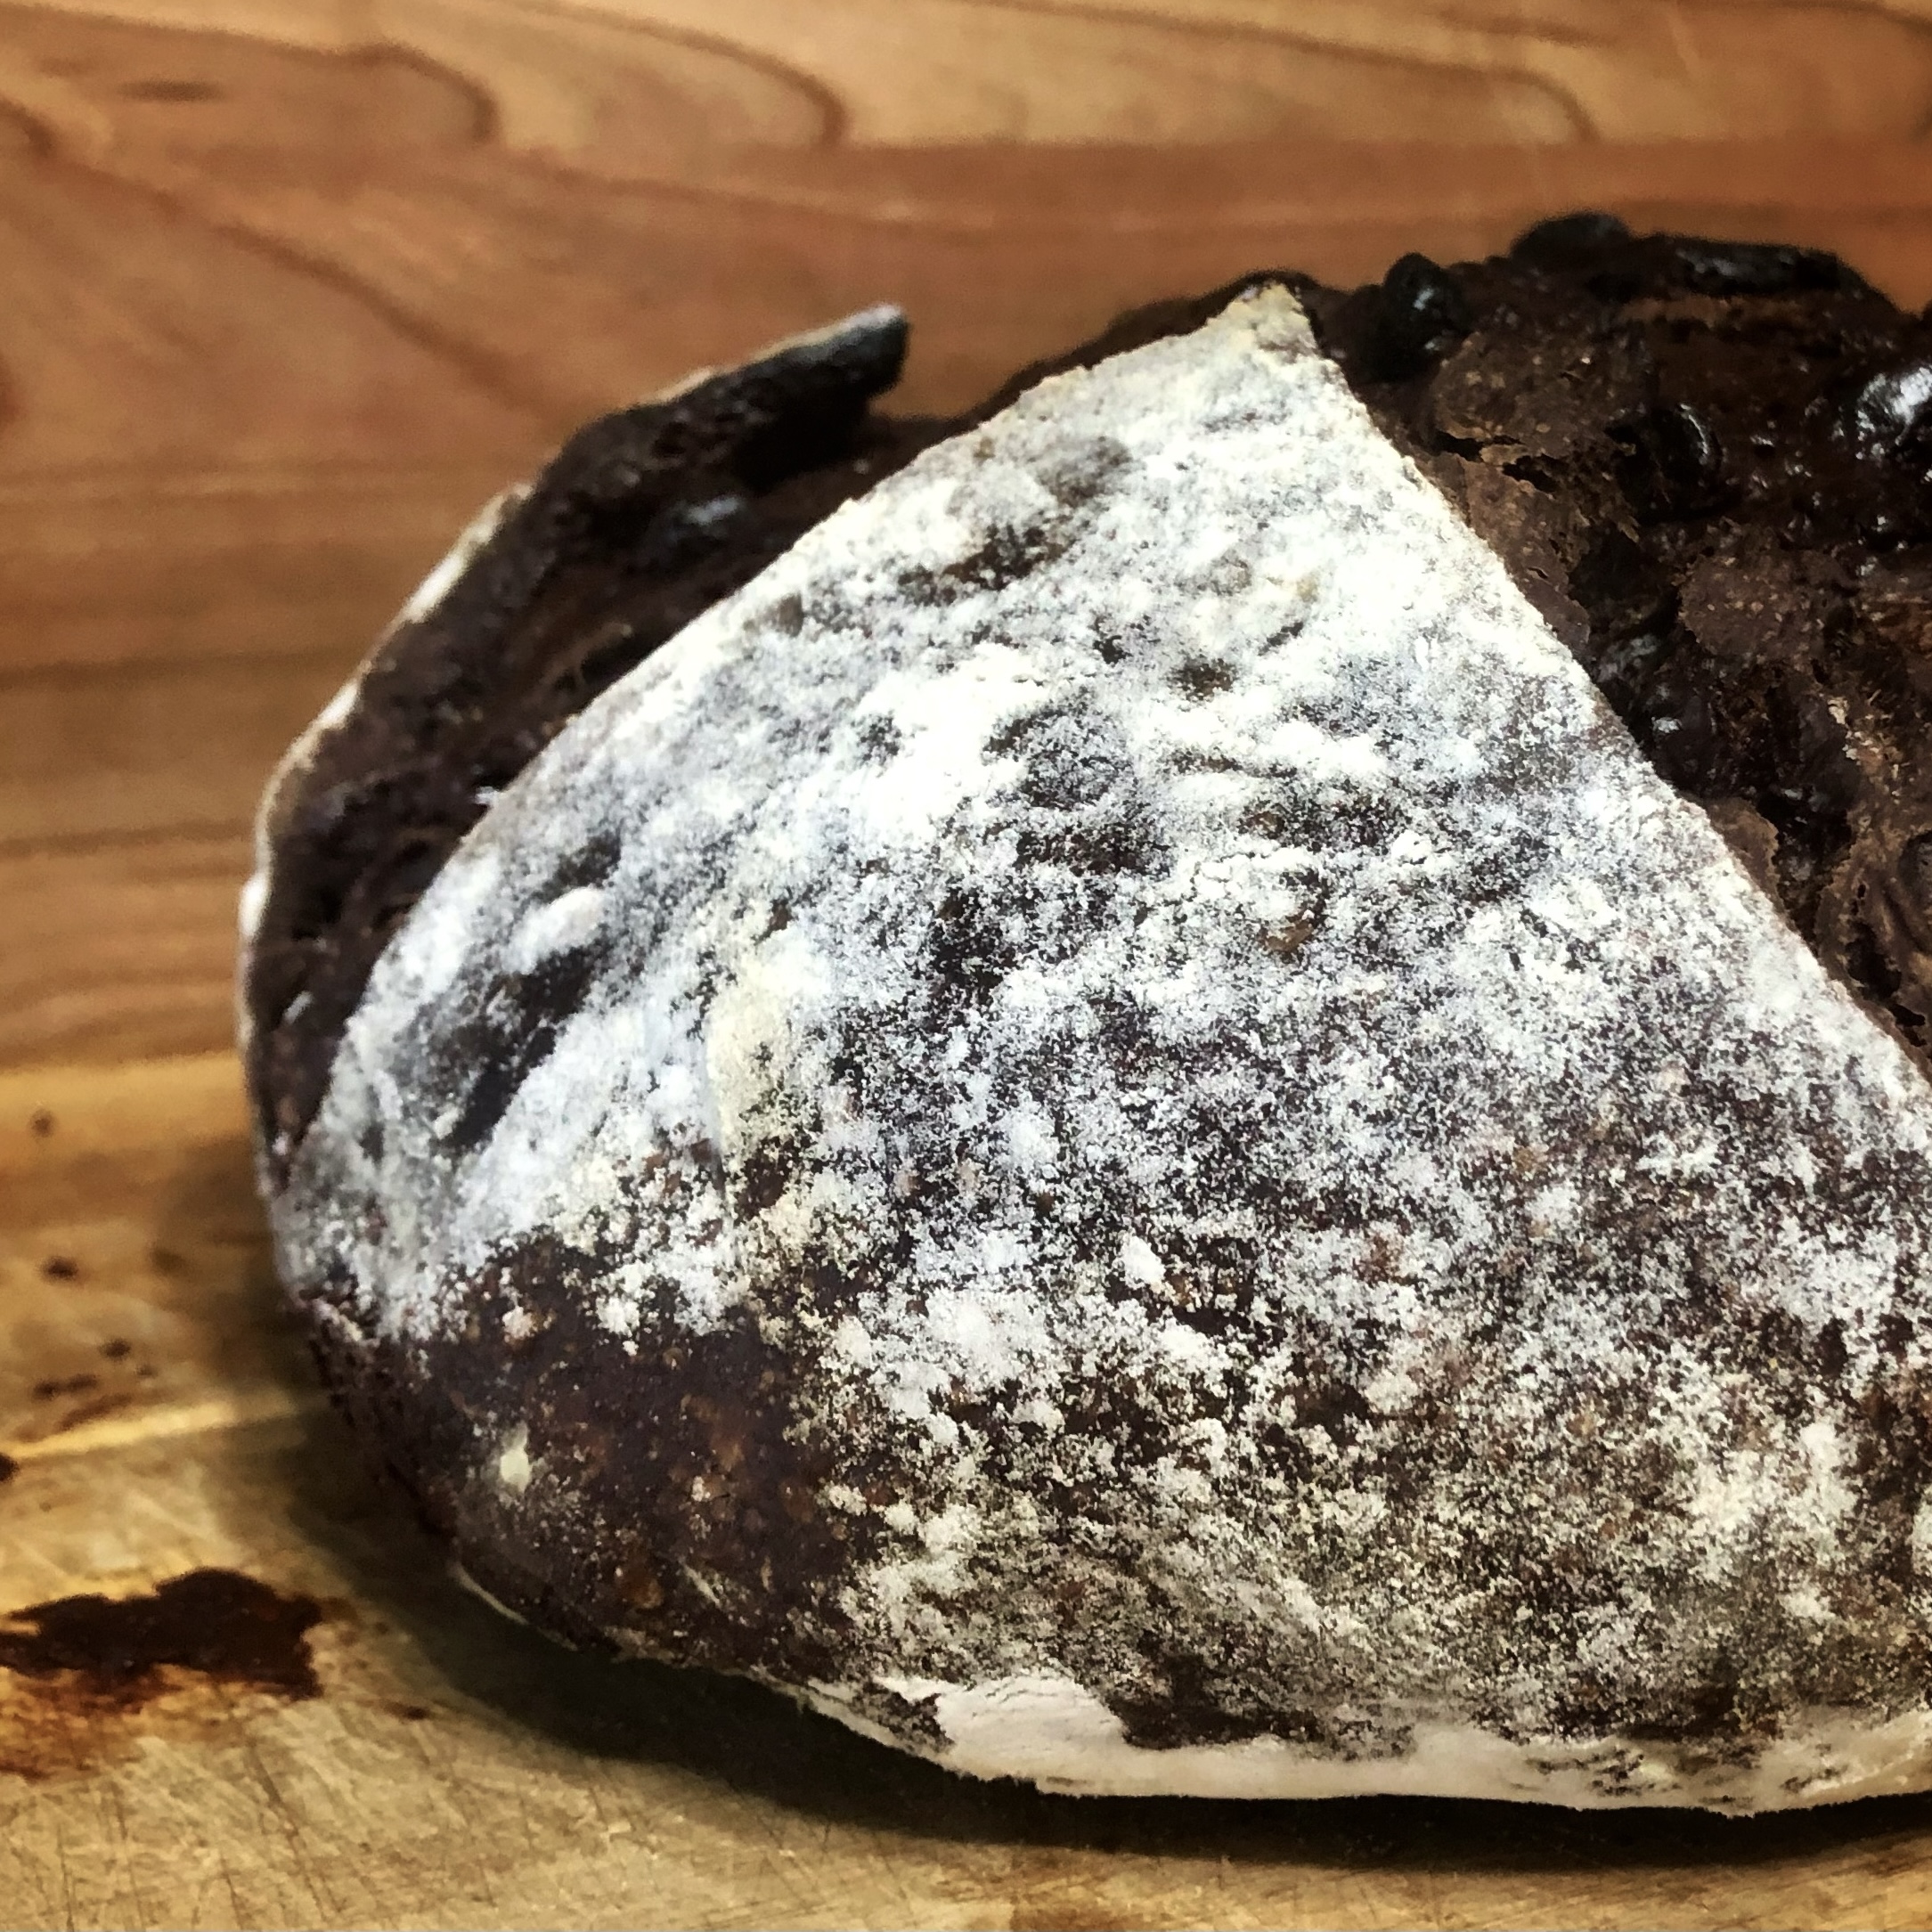
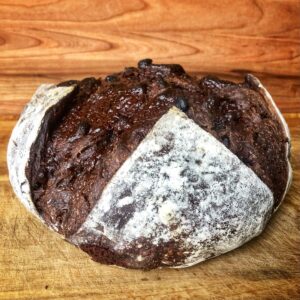
If you love chocolate and sourdough, this Chocolate Fudge Sourdough Bread will knock your socks off!
The bread, flavored with cocoa and brown sugar, has a soft mild flavor to it that allows the slight tang of sourdough to peak out.
And, don’t get me started on the chocolate chips and the creamy fudge that is spread generously throughout this bread. The fudge (which is technically a ganache) stays delectably soft- even long after the bread has cooled.
So, between the tang of sourdough, the sweetness of chocolate, and the creaminess of fudge, this bread has very quickly made it’s way into my top 5 sourdough recipes.
I hope that it does for you as well!
Tips for making Chocolate Fudge Sourdough Bread
Tip 1: Use High Quality Ingredients
To get the absolute best flavor from this bread, I recommend using high quality ingredients (especially high-quality cocoa powder and flour).
Whichever ingredients that you have on hand will still produce a wonderful bread, however I noticed that my bread really went to the next level after I started prioritizing organic and/or high quality ingredients.
Tip 2: Chill the Ganache
The ganache (aka the fudge) is very runny when it is first made. Runny ganache will easily spread over the dough during the lamenting stage, however, it will also easily run out of the dough during the shaping stage.
As a result, I recommend chilling the ganache in the refrigerator for at least one hour before placing it on the dough. This will firm up the ganache and prevent it from running out of the bread and all over the counter. (Don’t worry, it will still be evenly spread throughout the bread if it is “globed” on in firm chunks instead of spread on as a liquid).
Tip 3: Less is More While Shaping
The chocolate chips and ganache that fill this bread add bulk to the final dough. As a result, the dough tears rather easily.
In order to prevent tearing, don’t overwork the dough once the filling has been placed inside. Treat the top of the loaf as if it is very fragile (because it is) and avoid stretching out the top of the dough as you typically would while shaping a sourdough boule. Instead, put most of your effort into gently “squishing” the sides of the dough until a ball forms. Read more in-depth instructions here.
Tip 4: Be Patient
This recipe (as with all sourdough) may seem like it takes forever to complete. And, there is a lot of waiting time as the dough ferments. However, I can guarantee you that it is well worth it!
Go slow while putting a ton of love and care into this bread. If you do this, you may just end up with the best tasting chocolate bread that you have ever had!
FAQ’s about Chocolate Fudge Sourdough Bread
How do I do a stretch-and-fold for this chocolate fudge sourdough bread?
A stretch-and-fold is a technique that is used in bread making to strengthen the gluten network of the dough. It is commonly replaced with kneading the dough.
Stretch-and-folds are very easy to do. If you are unfamiliar with them, click here for a walk through on how to complete a stretch and fold.
What is ganache?
Ganache is a lovely mixture of melted chocolate and heavy cream. Ganache is well-love in the baking world. It is great in baked goods, covered on fruits, and for so much more!
In this recipe, ganache is what makes the “fudge-y” parts of the finished dough.
How do I add in the chocolate-chips and ganache in this chocolate fudge sourdough bread?
When adding additions to a sourdough bread, you may do it at two different times: during the stretch-and-fold process or by laminating the dough.
Due to the creaminess of the ganache in this recipe, it is best to add in the chocolate-chips and ganache by laminating the dough.
What is lamination in sourdough?
Lamination refers to a process that is commonly used in bread making. During this process, the dough is stretched as flat as it can go without tearing and then folded back up again.
Laminating dough is a great way to both strengthen the gluten network in the bread and to add additions to the dough.
You may read more about laminating sourdough here.
How do I laminate the chocolate fudge sourdough bread?
The laminating process is the most important step when it comes to adding the chocolate and fudge to this bread.
If you’ve never laminated bread before, it may seem intimidating. But, don’t worry, it’s actually quite simple!
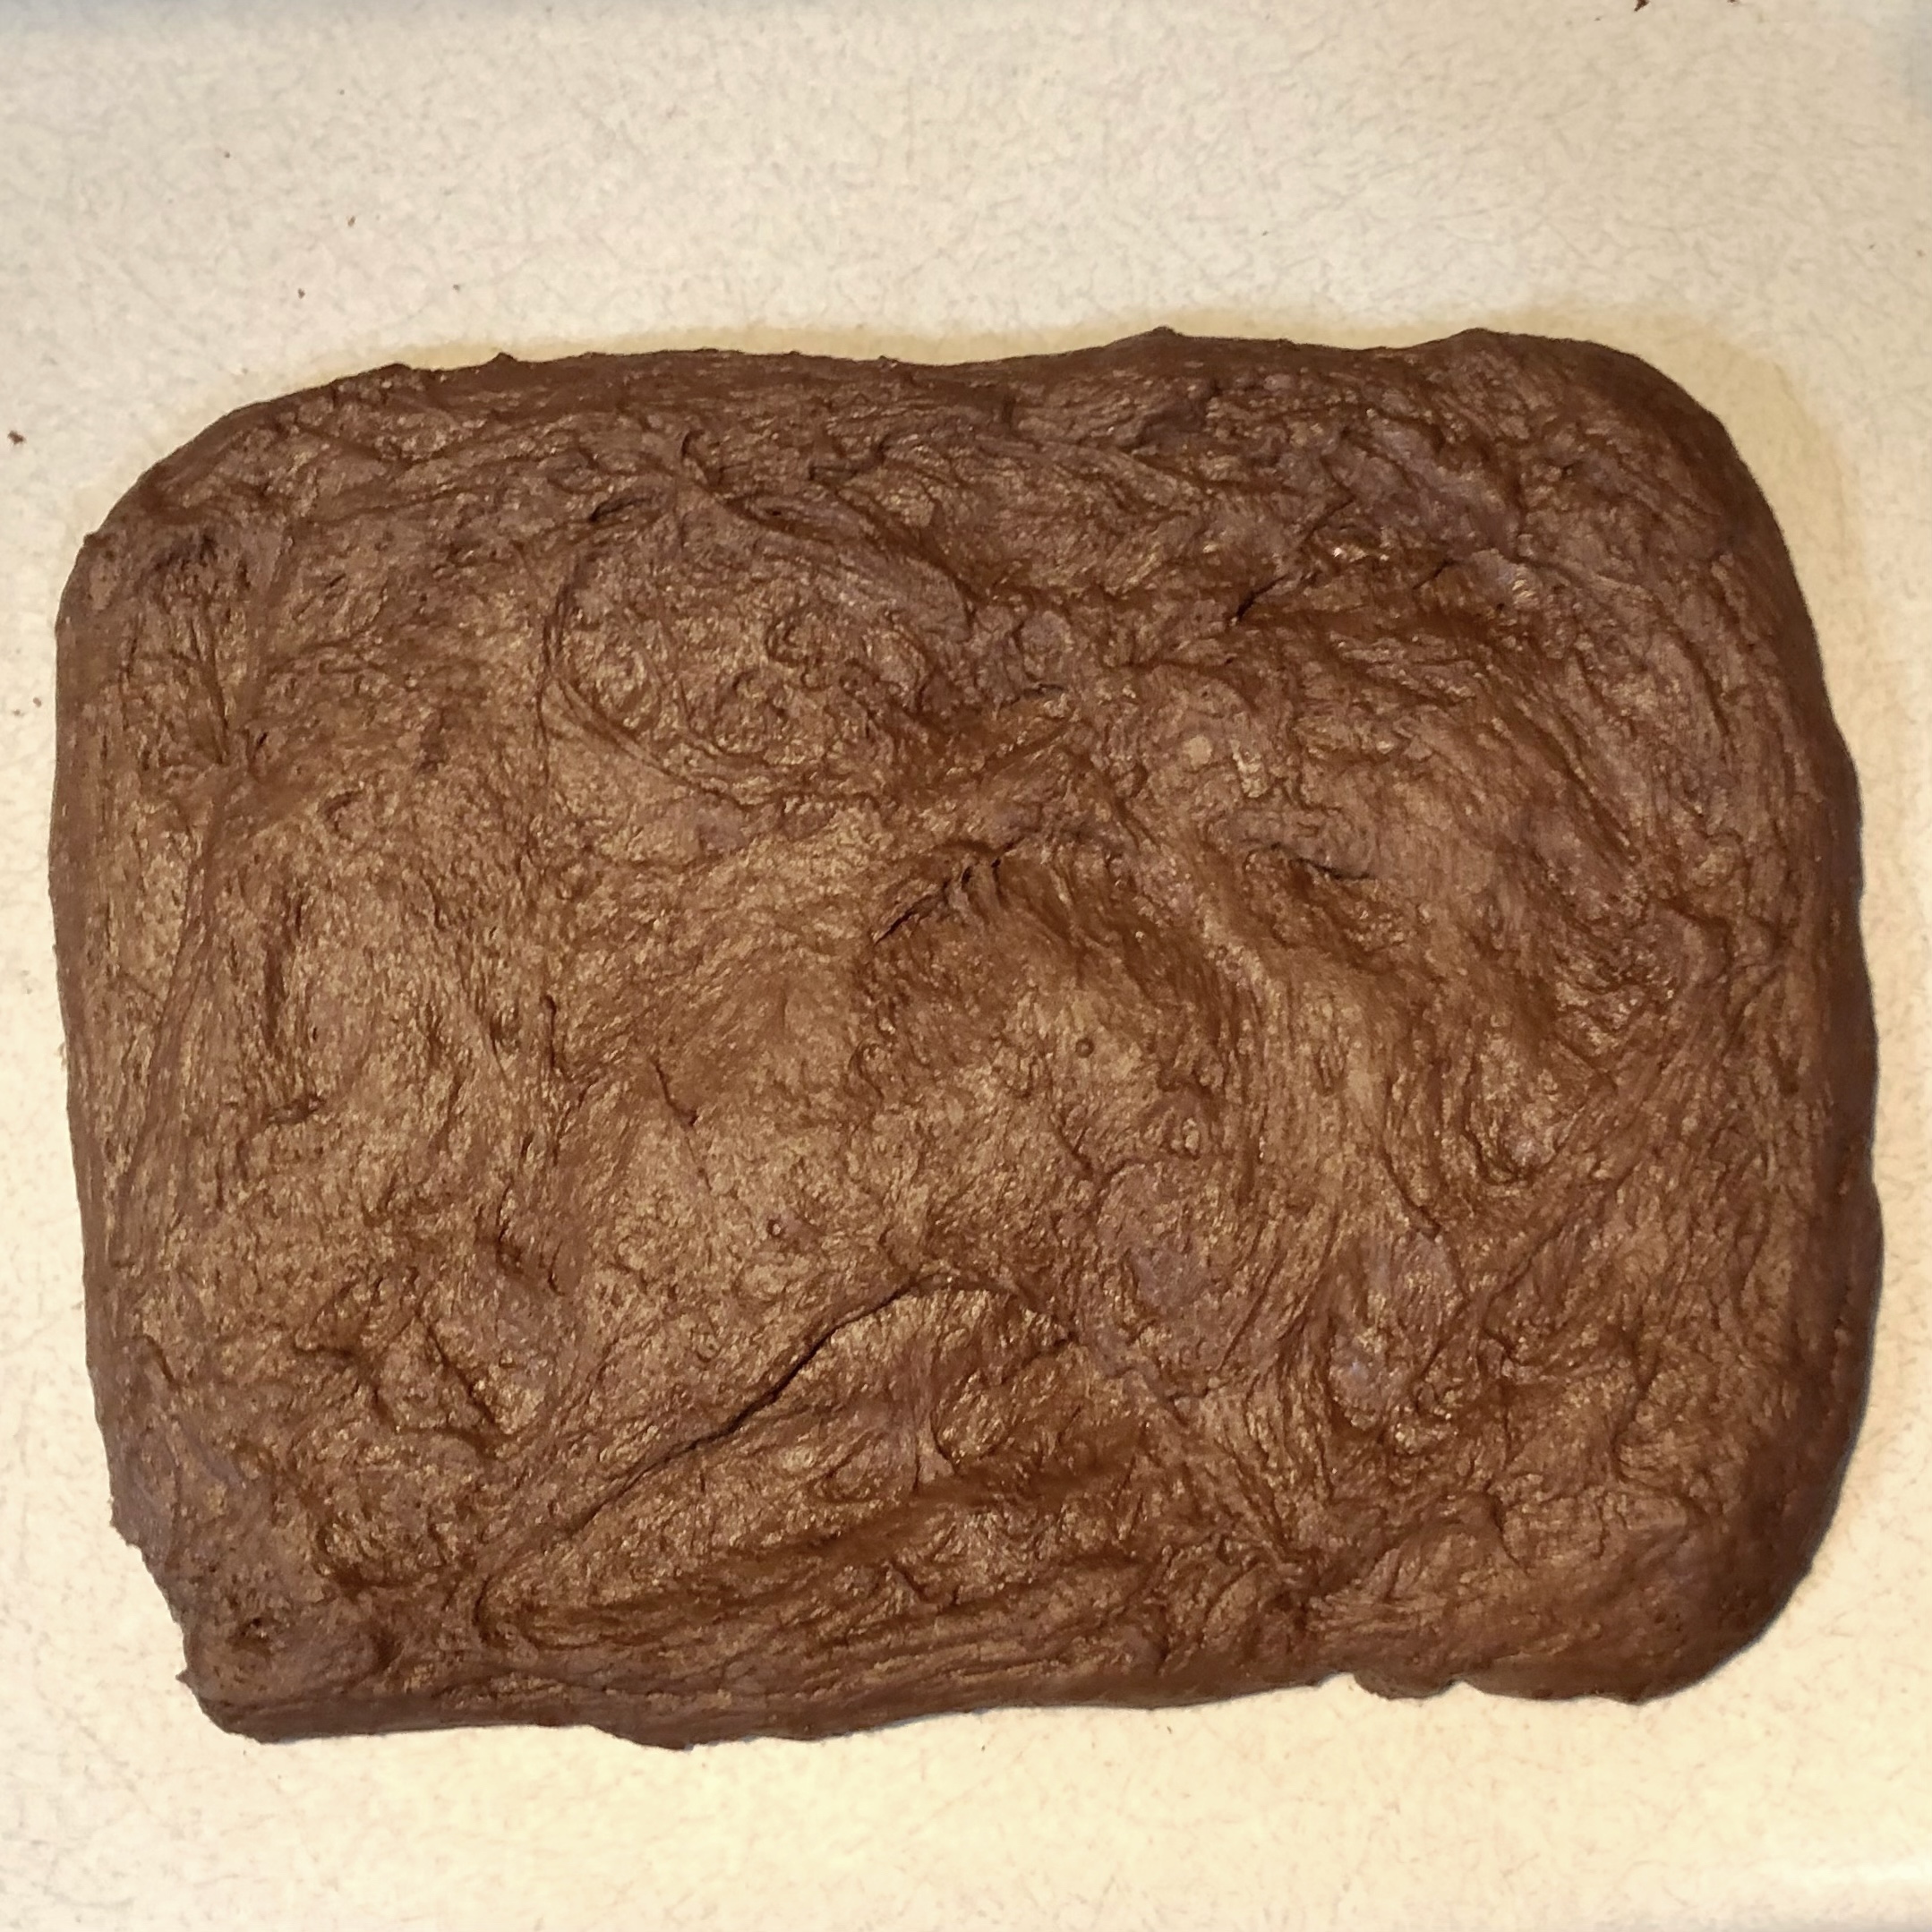
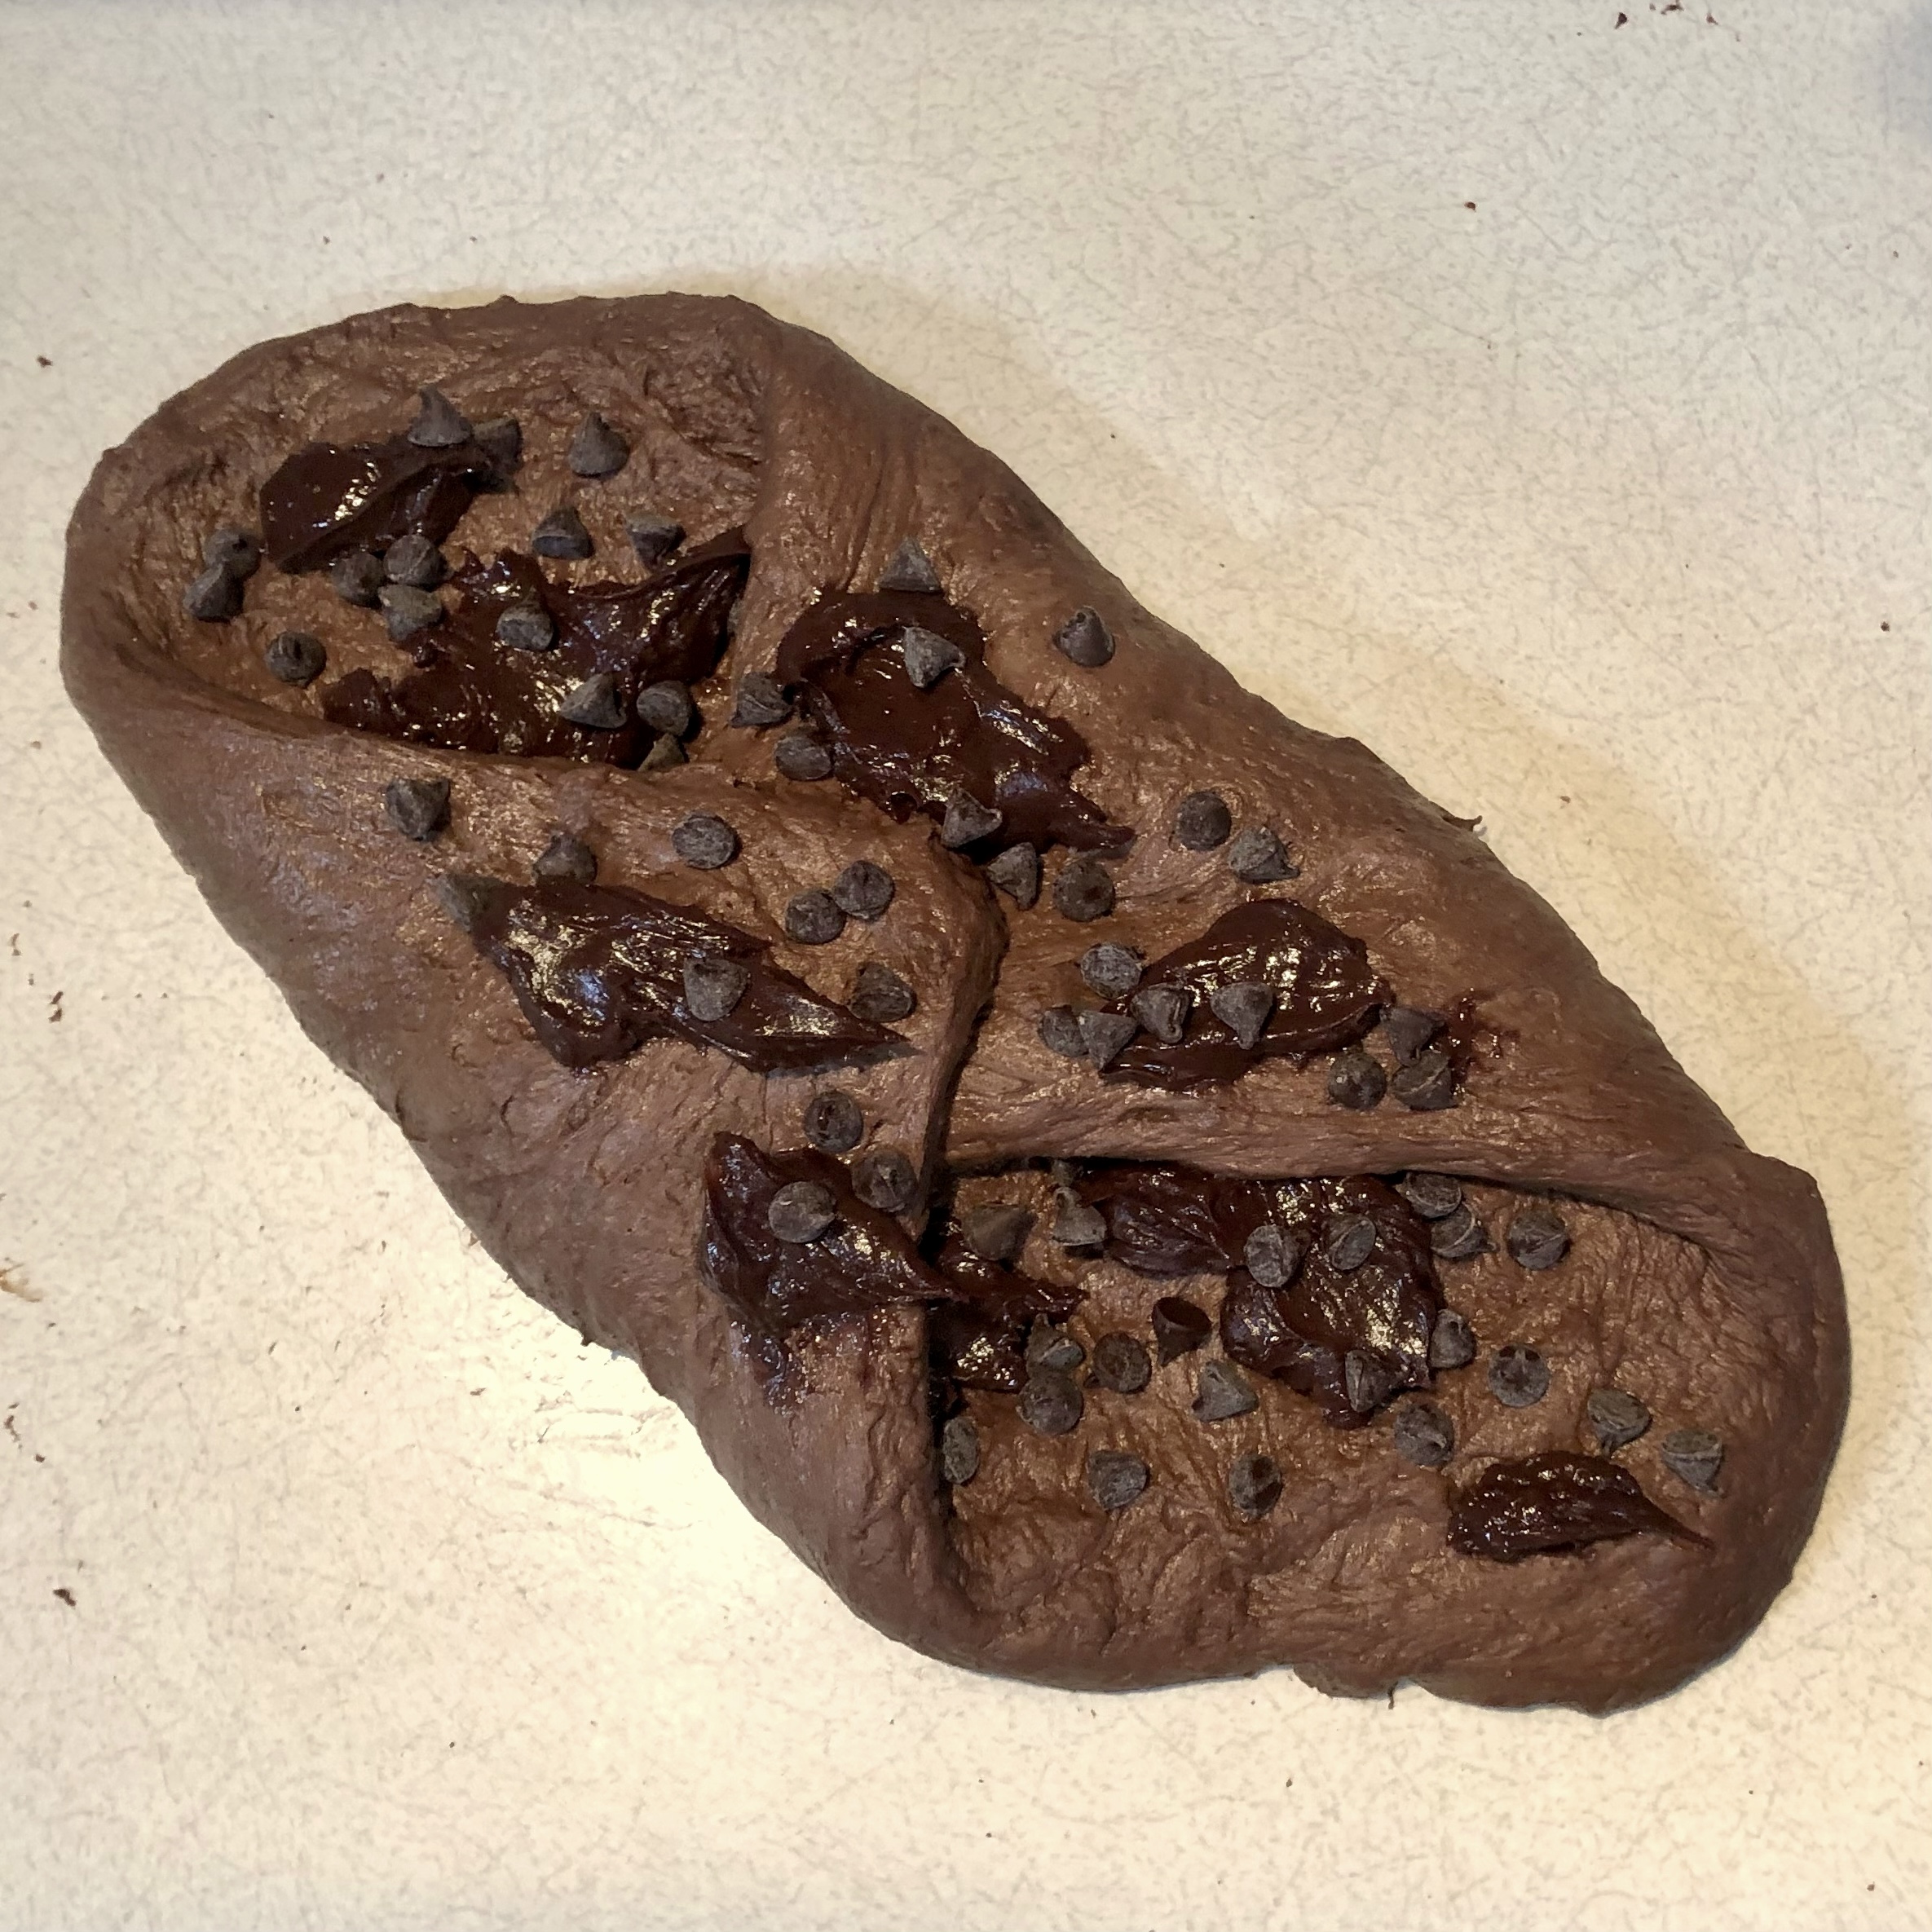
To begin, gently stretch your dough out into a roughly 10×12 inch rectangle (as the first picture shows). Be careful to not tear the dough as you do so. But, if the dough does tear you can simply squish any holes closed with the surrounding dough.
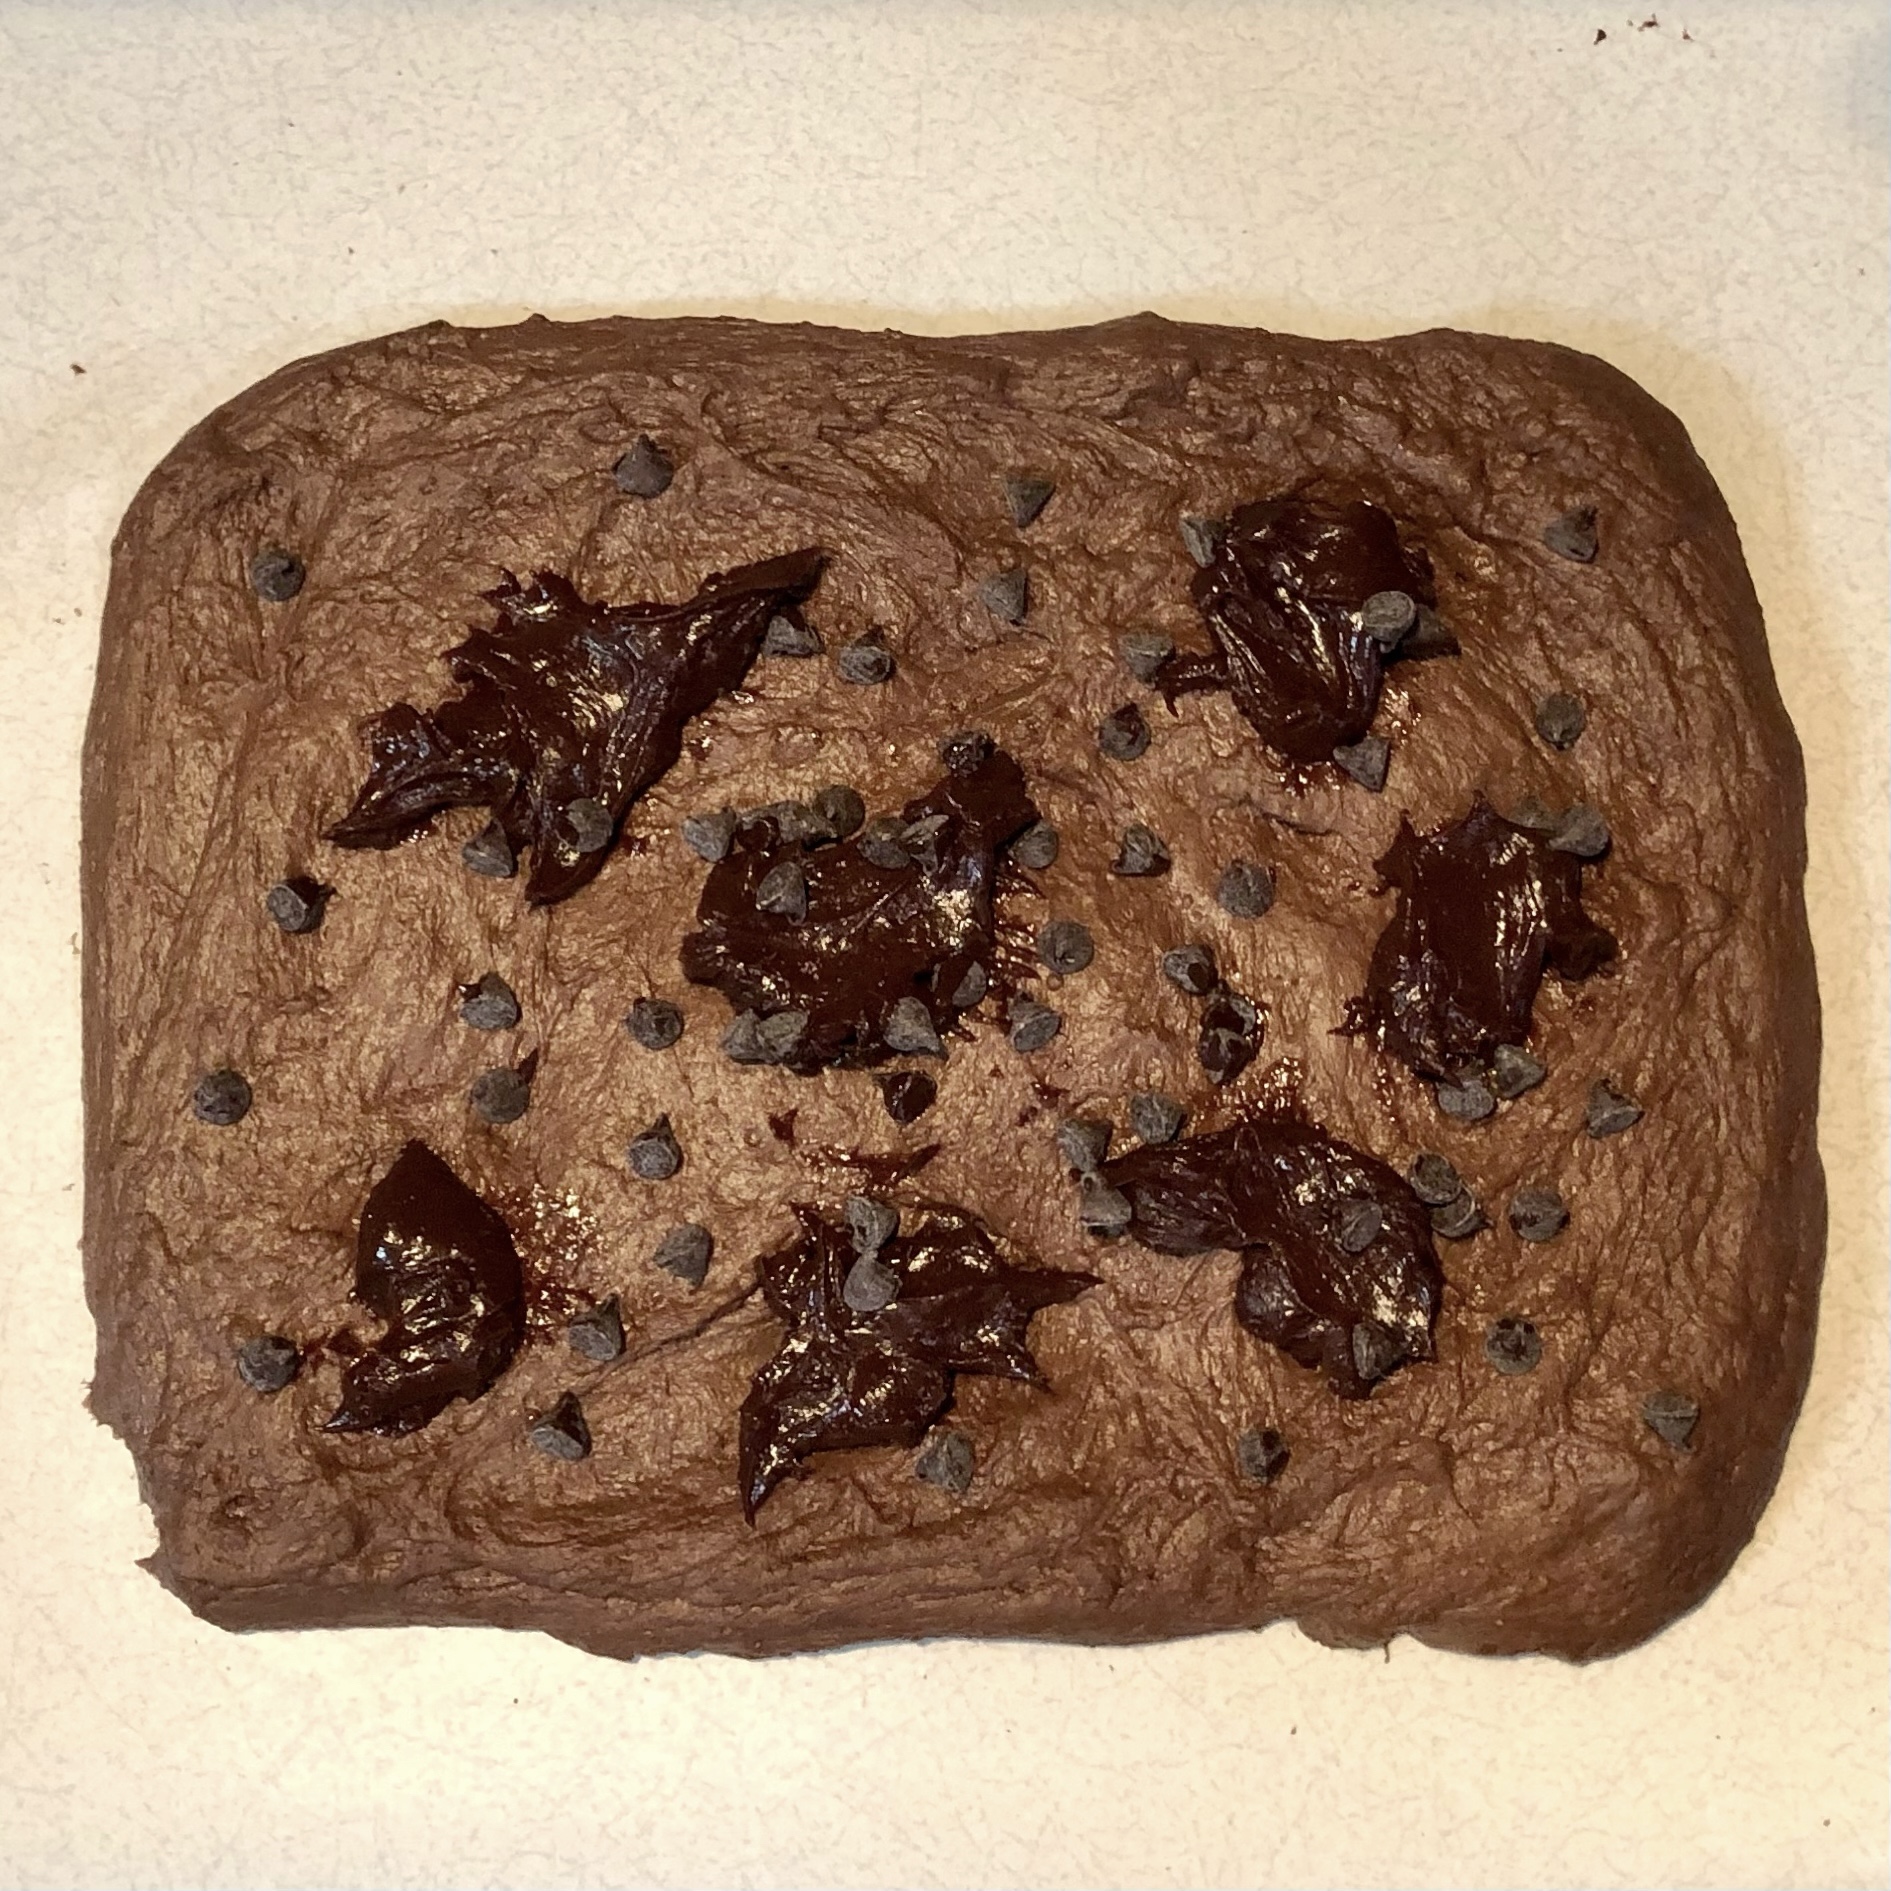
Then, place 2/3 of the ganache across the surface of the dough, followed by 2/3 of the remaining chocolate chips. The ganache will most likely not spread over the dough if it is chilled (as I recommend it to be). So, it can simply be placed on by the spoonful as the second picture shows.
Next, gently fold two opposing corners of the rectangle into the center of the dough. The corners should overlap by about 1 inch. Then, place the remaining ganache and chocolate chips on top of the newly exposed dough.
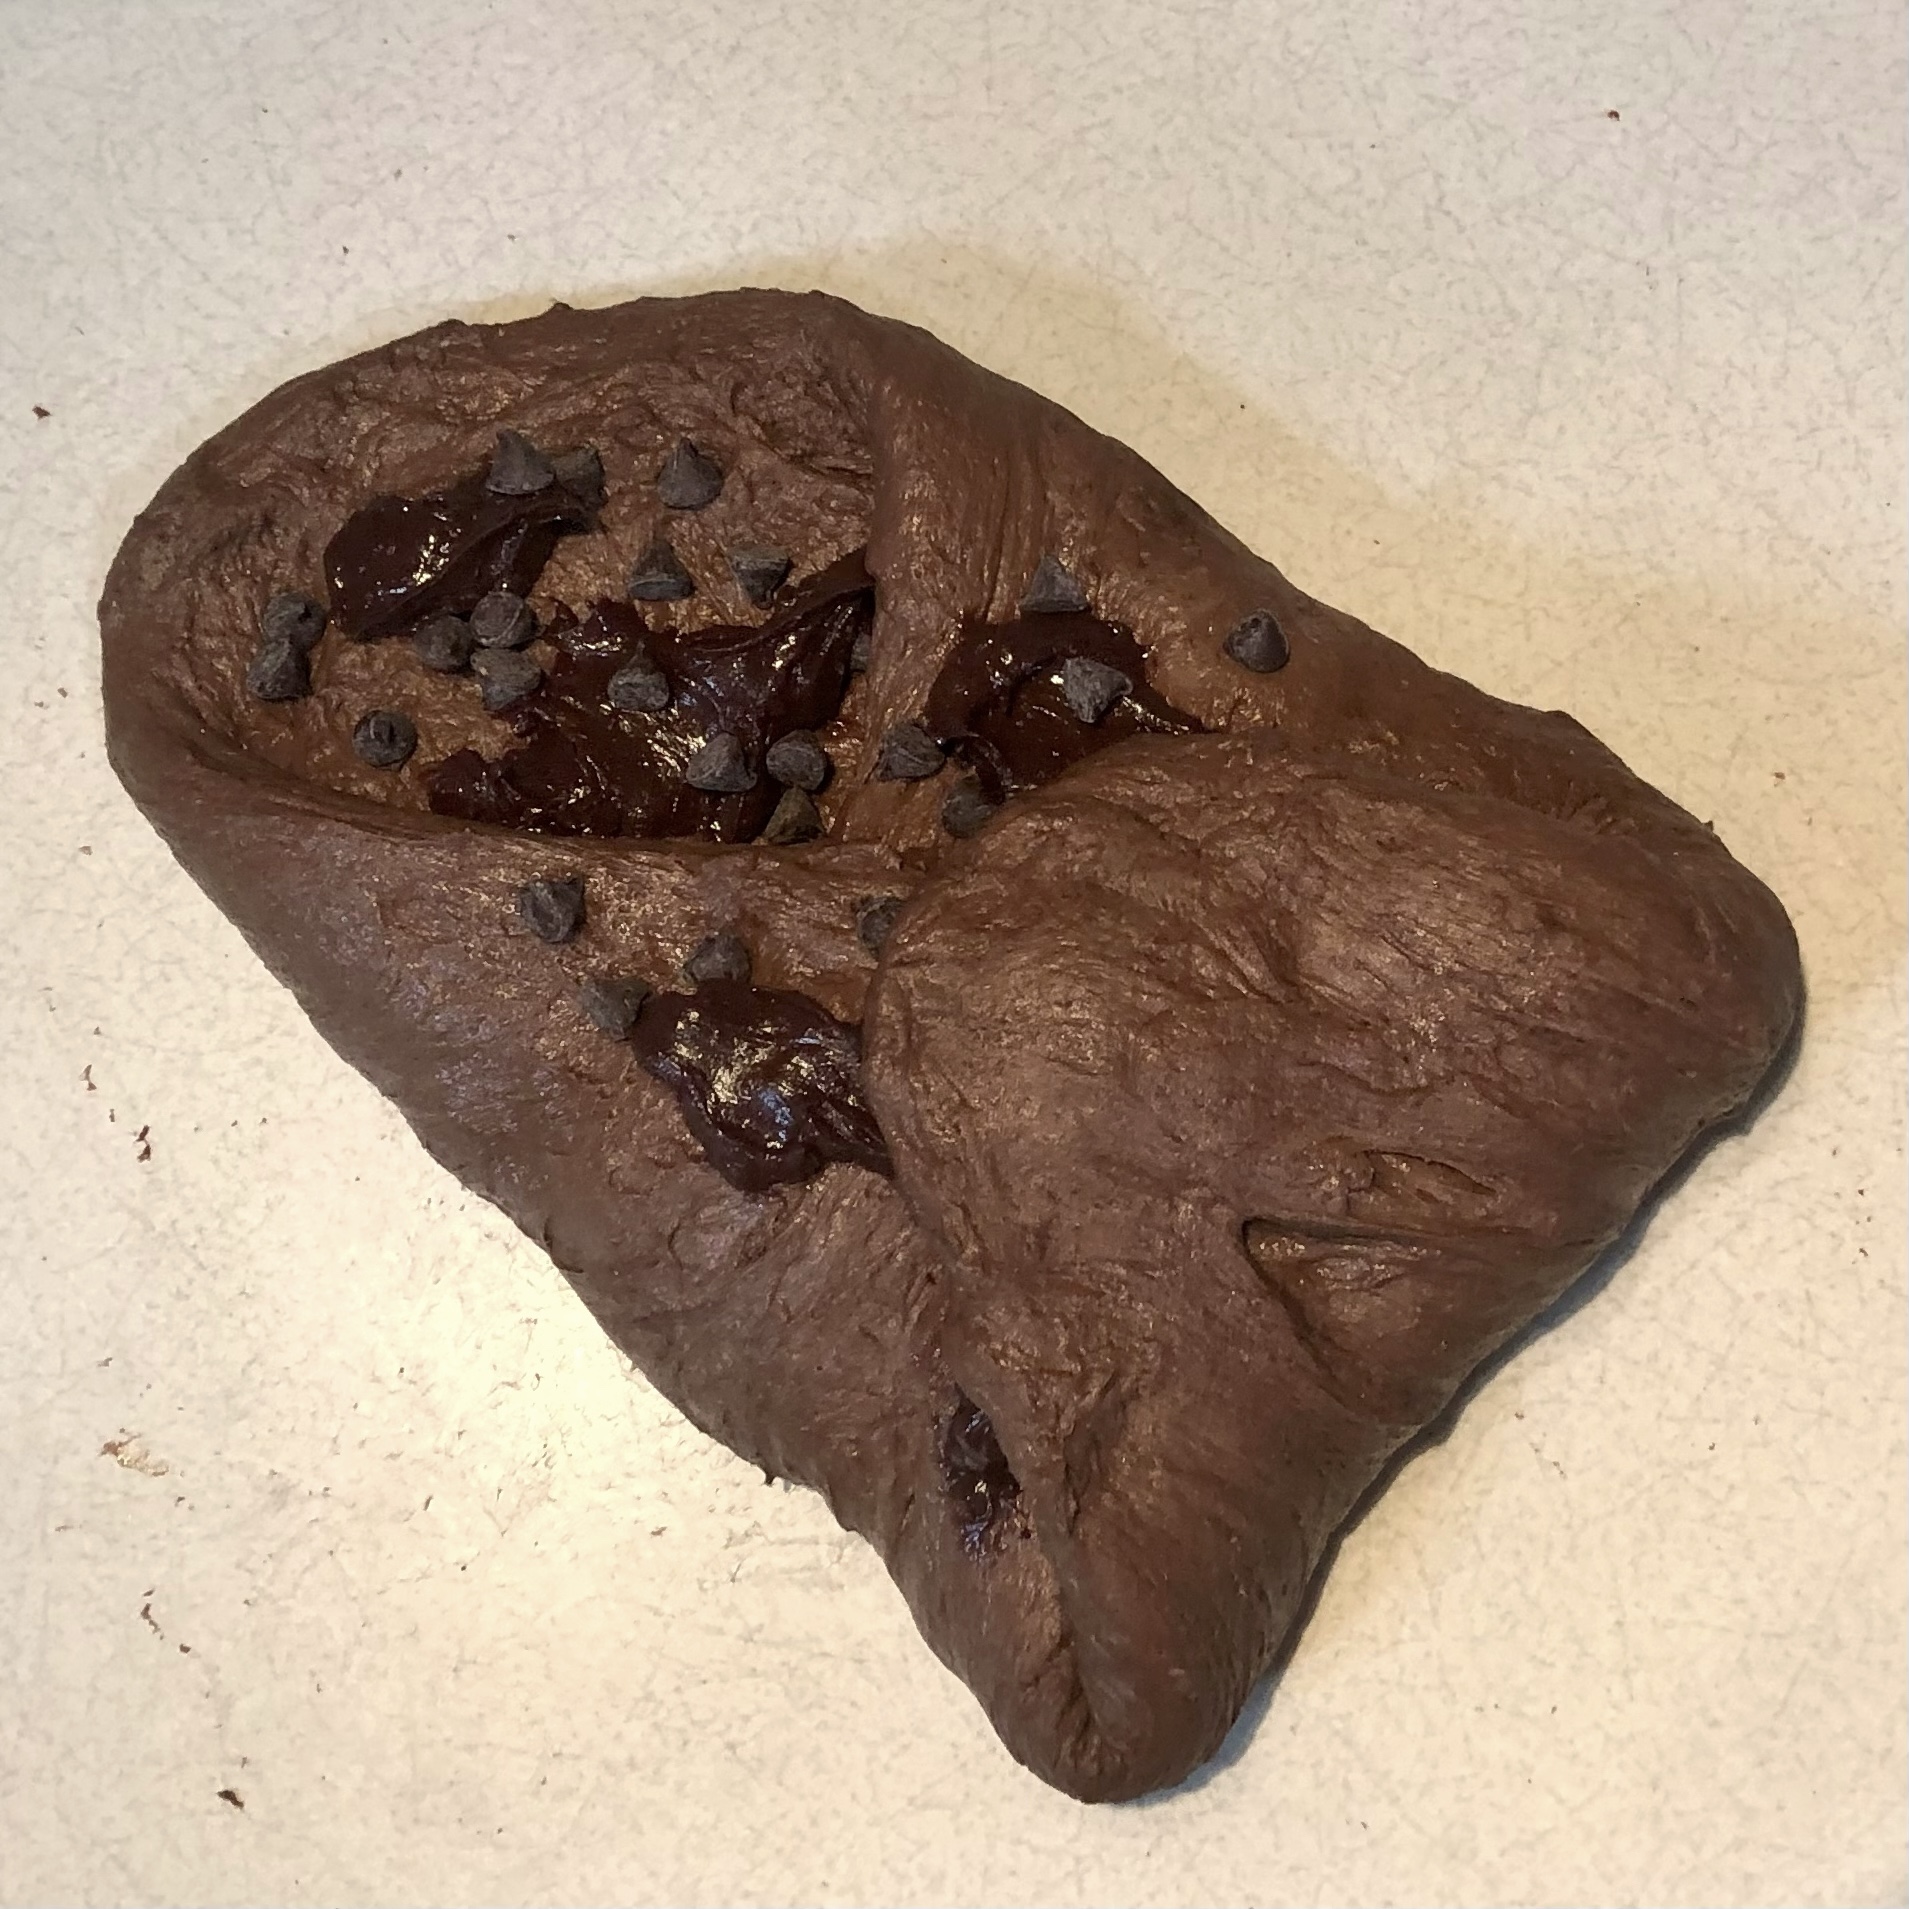
Once all of the ganache and toppings have ben placed onto the dough, it is time to roll it up and shape it!
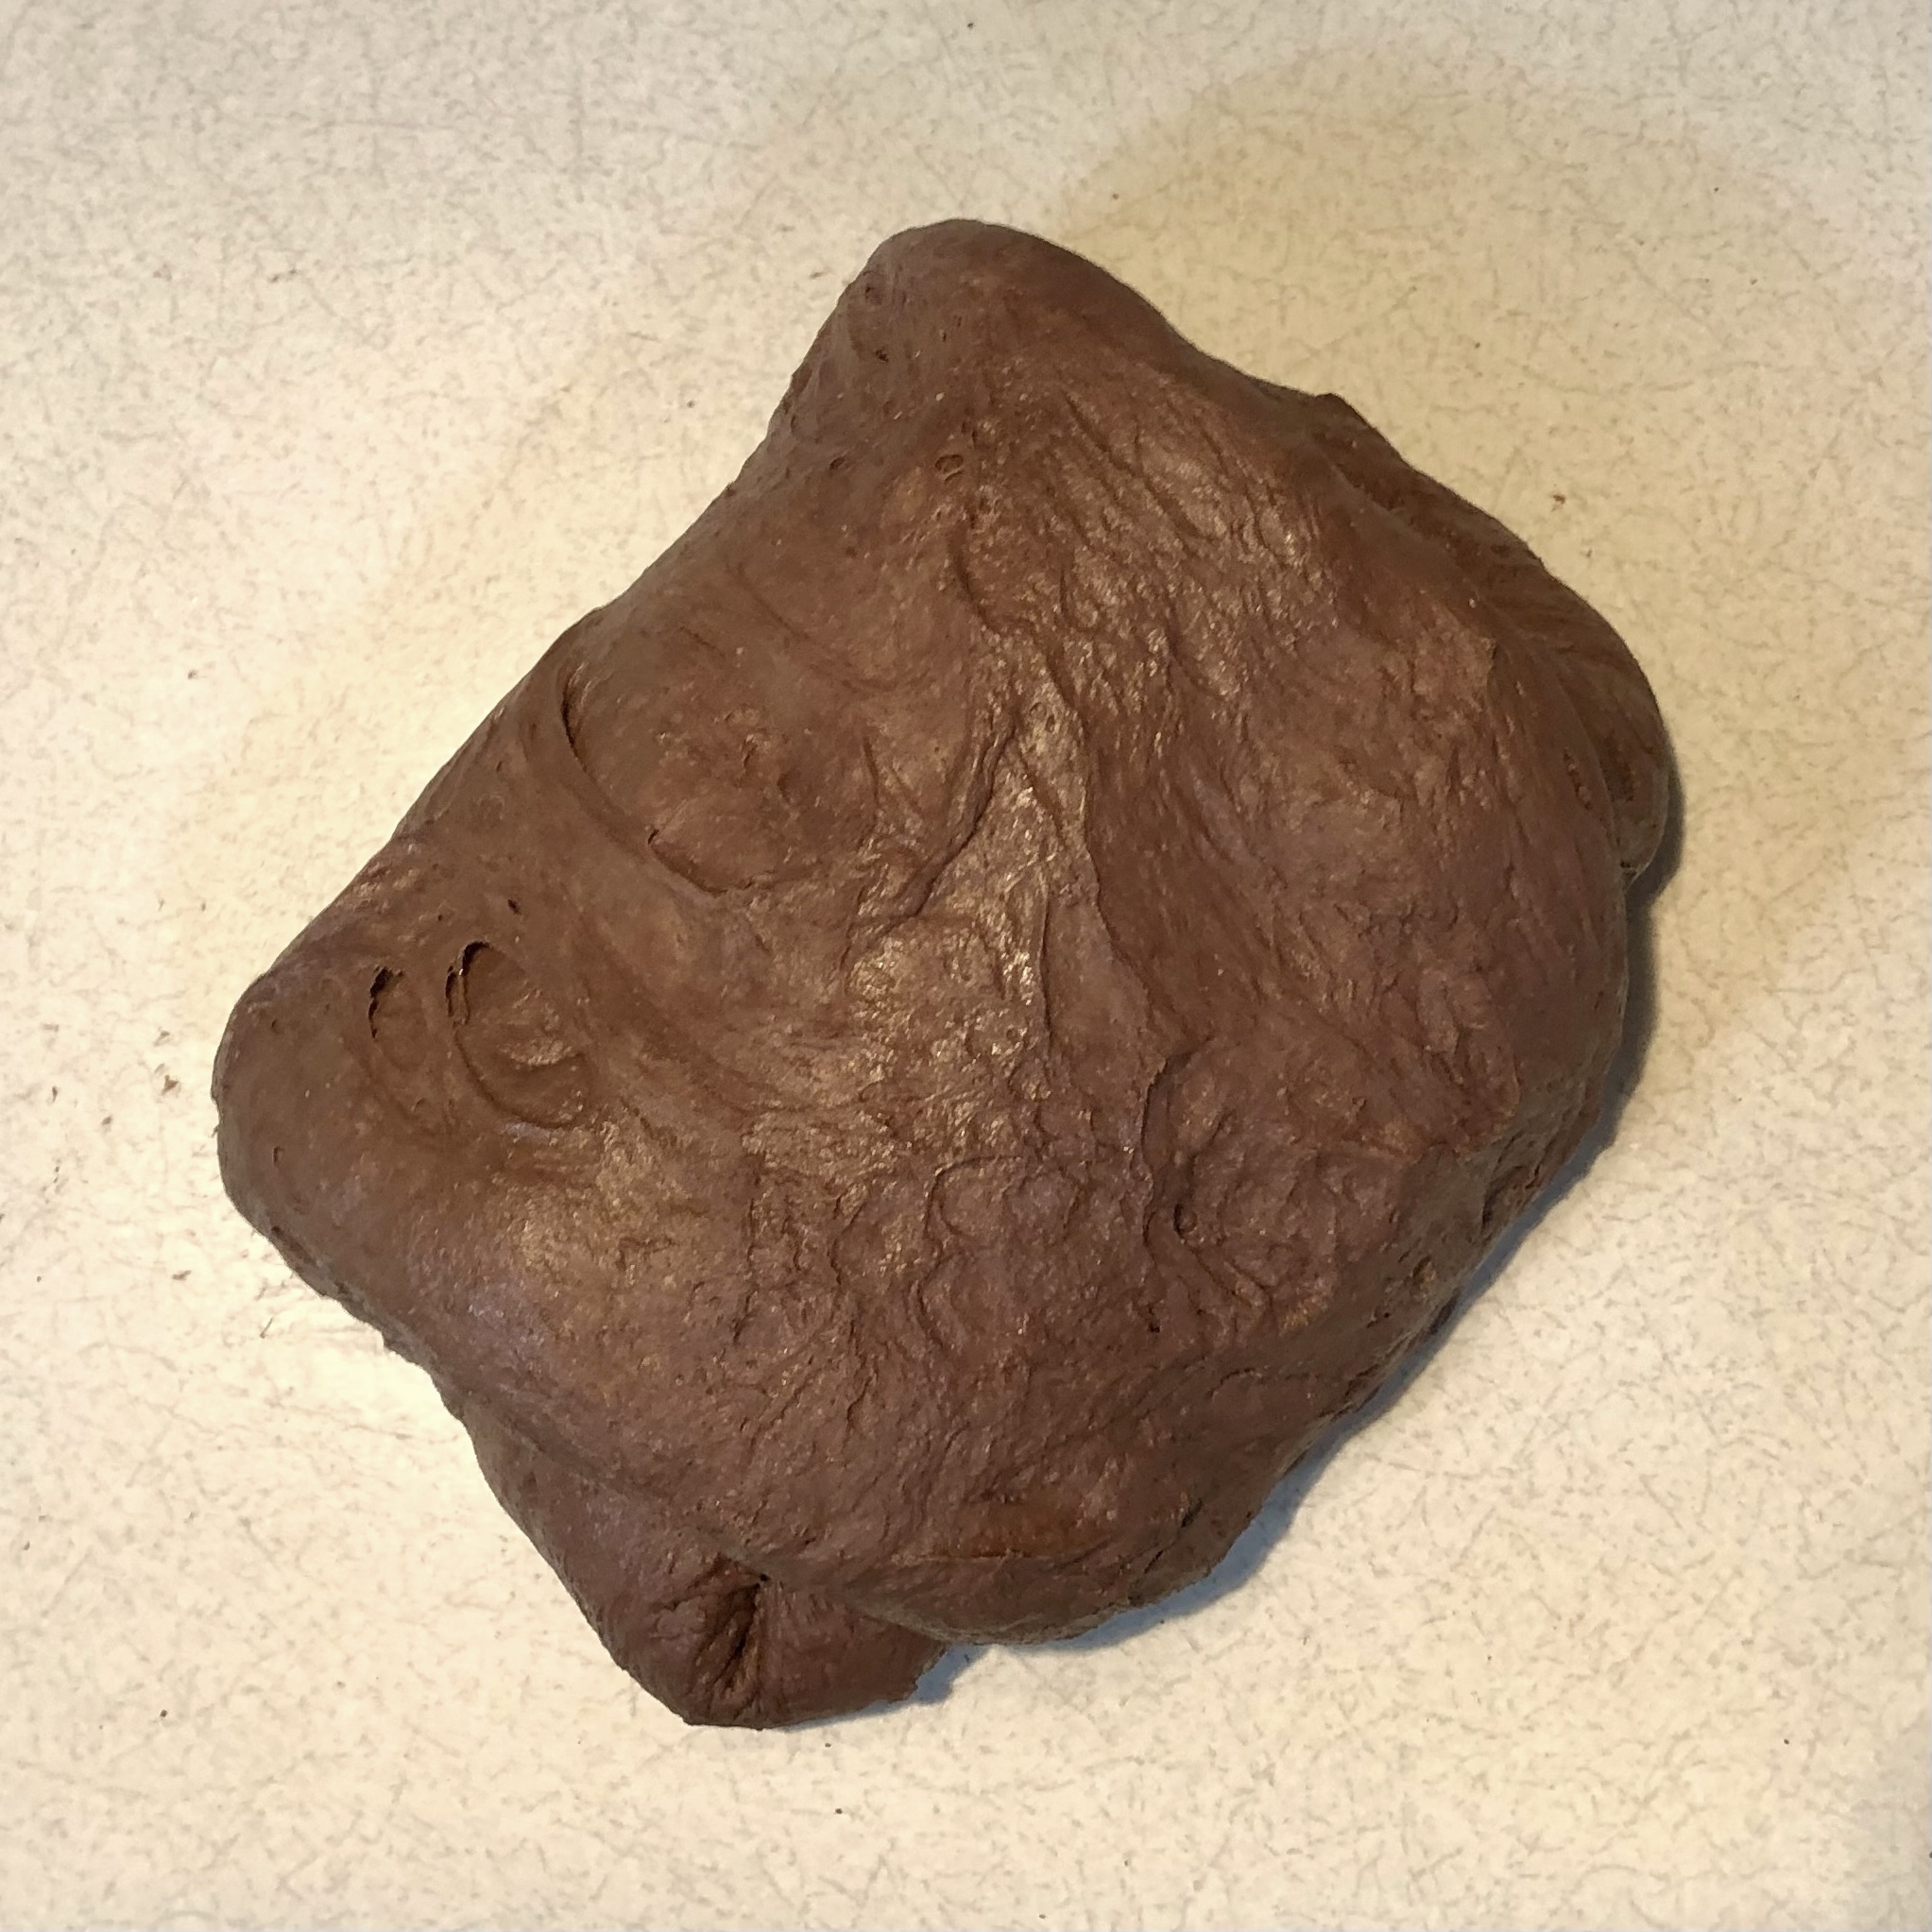
Do this by first folding one corner of the rectangle into the center of the dough (see 4th picture). Then, take the final remaining corner and stretch it all the way around the dough until a ball-like rectangle is formed (see 5th picture). Note that the toppings may be prone to falling out during this step… work slowly and gently to prevent this from happening.
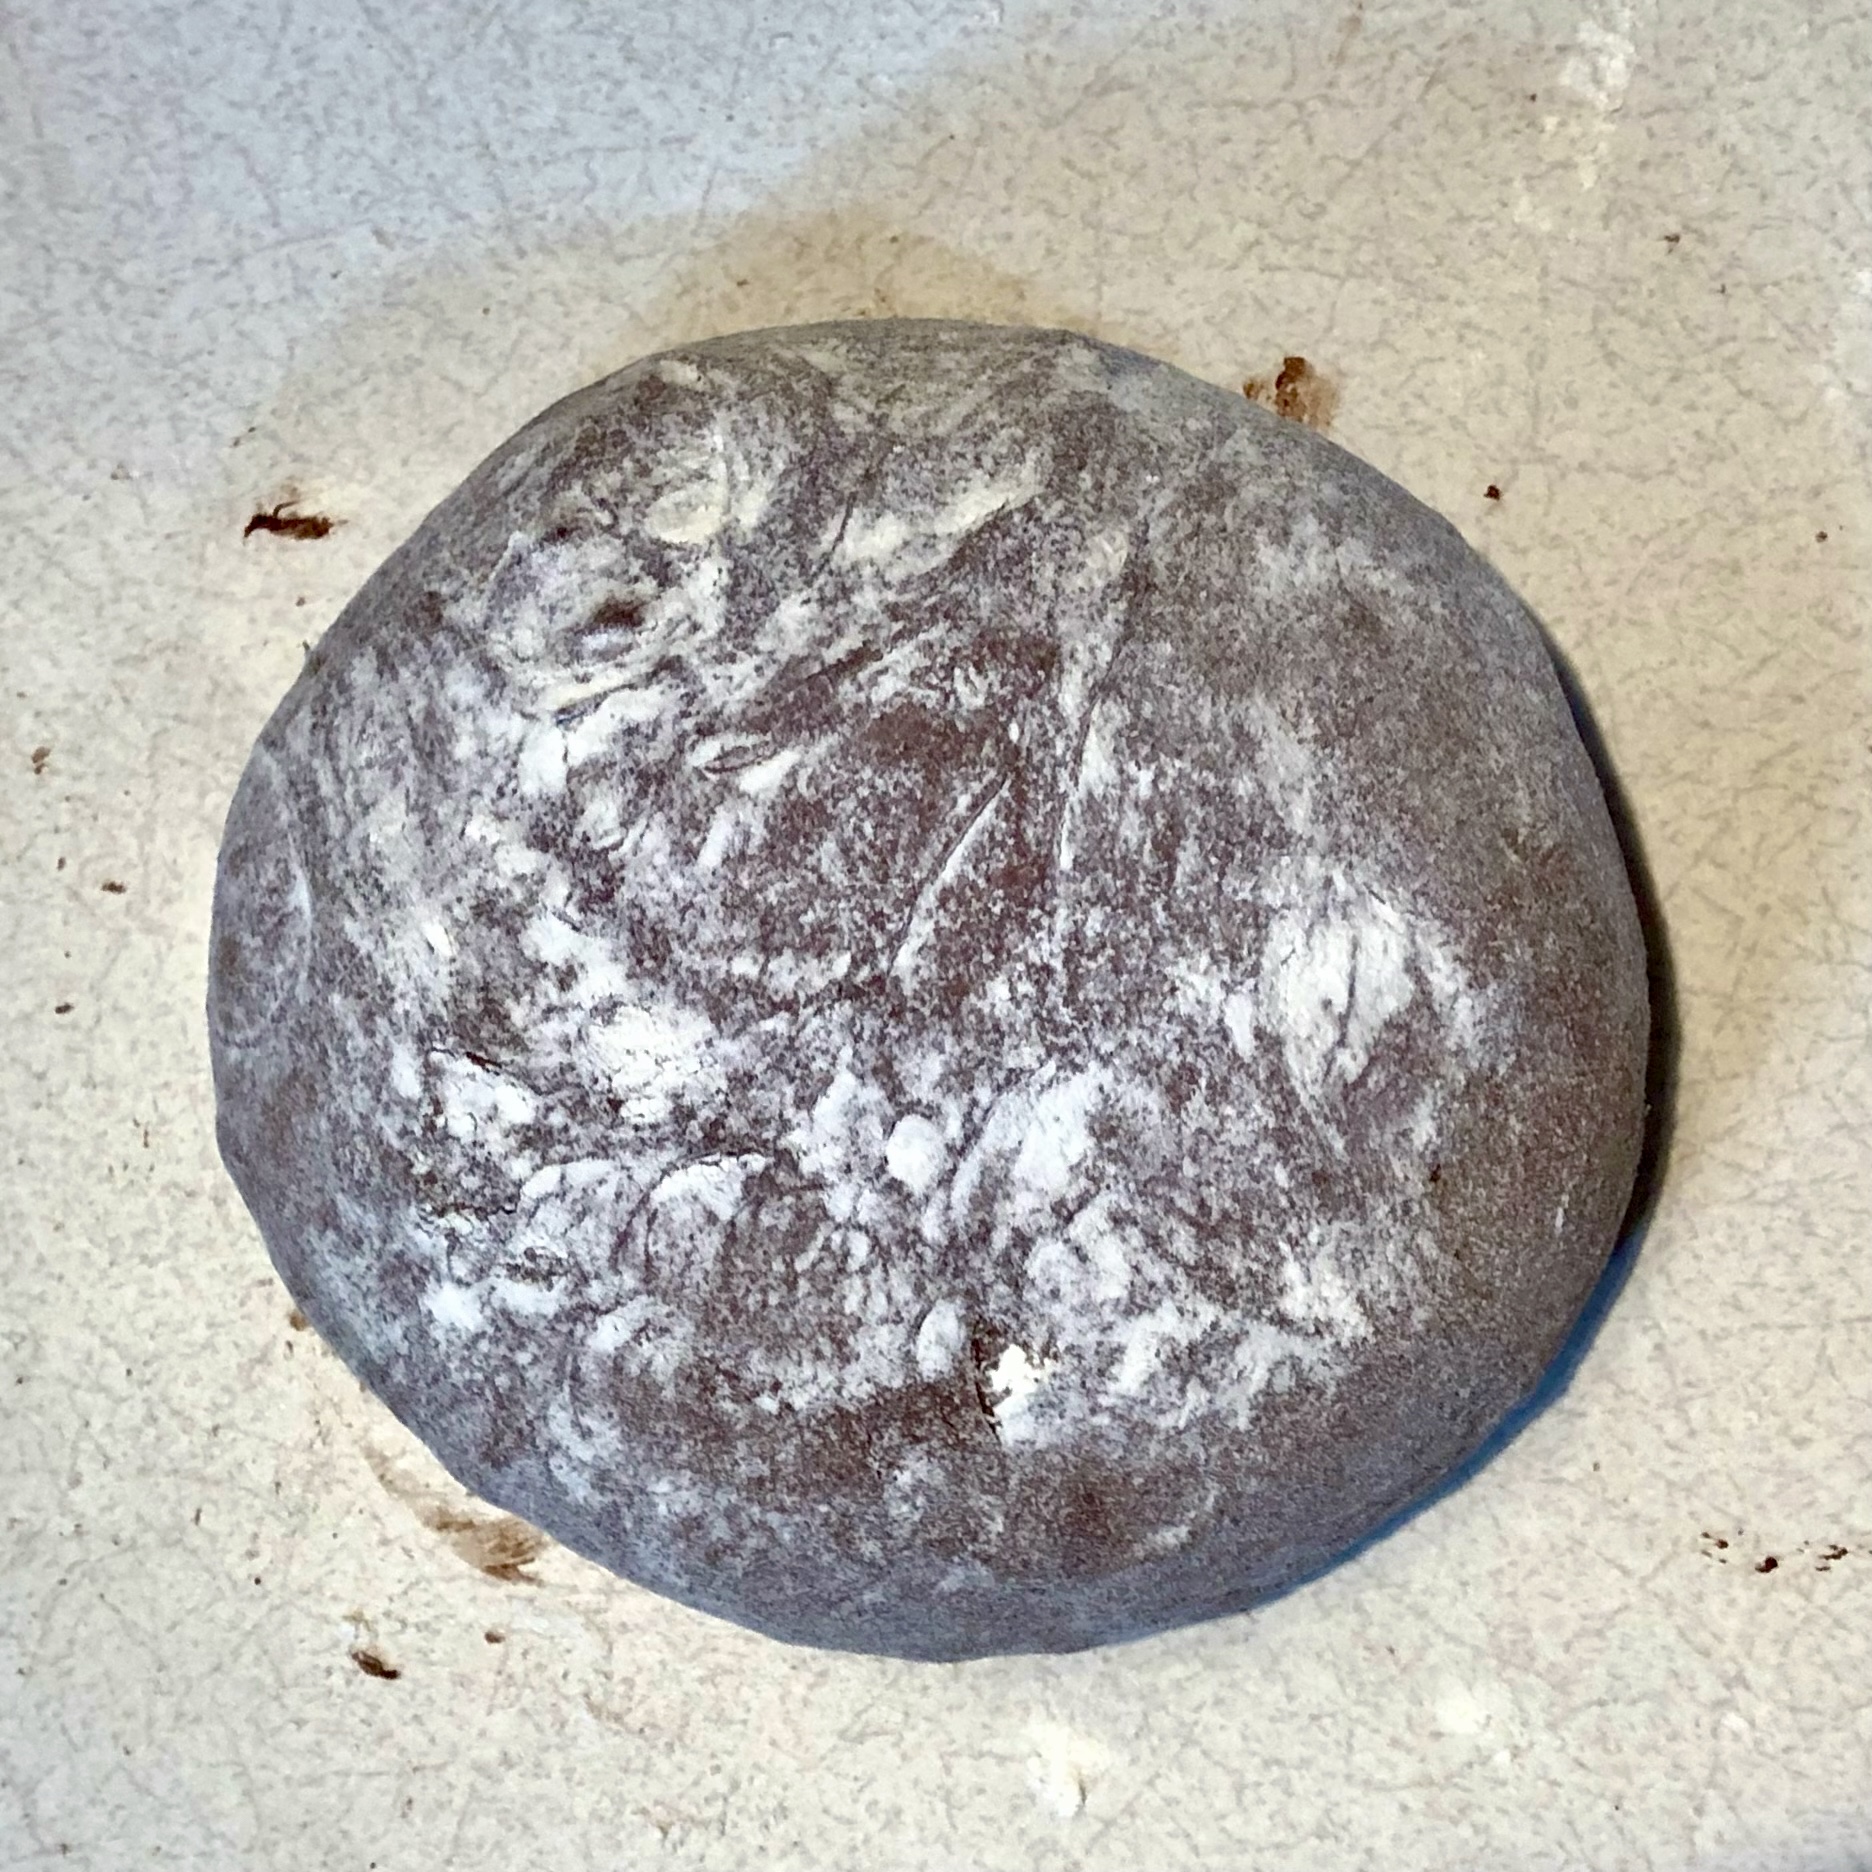
Finally, sprinkle the top and sides of the dough with flour (this will keep your hands from sticking to the dough). Place your hands on opposing sides of the dough and gently squeeze them together. Rotate the dough and do this again until the dough takes on a complete ball-shaped form (see 6th picture).
Note: It’s very important during the final shaping step to not stretch the surface of the dough. The dough is rather delicate and the fudge and chocolate-chips are rather heavy inside. Stretching the surface of the dough will result in the dough breaking and the toppings falling out.
Chocolate Fudge Sourdough Bread Recipe
Preparing the Starter
Create a Levain or feed your starter a high-ratio feeding 4-12 hours before you plan to mix up the dough. (The time depends on how long it takes your starter to fully rise and become bubbly & active after a feeding).
For the levain: mix together 15 g of starter, 50 g of water, and 50 g of all purpose flour. Allow it to rise until the surface of the mixture becomes bubbly. This can take anywhere from 4-12 hours.
Mixing up the Dough
In a large mixing bowl, stir together 340 g of water and 100 g of the Levain (or sourdough starter) until combined.
Next, add in 50 g of cocoa powder and 50 g of brown sugar. Stir until the sugar and cocoa powder is dissolved.
Next, stir in 100 g of whole wheat flour and 300 g of all-purpose flour until a loose, shaggy dough forms.
Sprinkle 10 g of salt over the dough and cover it with a damp tea towel for 30-60 minutes in order to let the flour fully absorb the water.
Then, begin a series of 5 stretch and folds. The first 3 stretch and folds should be 15 minutes apart and the last 2 stretch and folds should be 30 minutes apart.
Stretch & Fold #1 – 15 minutes – Stretch & Fold #2 – 15 minutes – Stretch & Fold #3 – 30 minutes – Stretch & Fold #4 – 30 minutes – Stretch & Fold #5
Once the stretch and folds have been completed, cover the dough with a damp towel or plastic wrap and allow it to ferment at room temperature for 6-10 hours starting from the time that the dough was initially mixed together. Typically, the cooler the room is, the longer the dough needs to rest. See here for more information.
Preparing the Ganache
If you’ve never made ganache before, you will soon find that it is very easy to do!
Begin by measuring out 114 g (4 oz) of Semi-Sweet Chocolate chips into a medium-small sized bowl.
Then, place 114 g (4 oz) of heavy cream into a small sauce pan. Heat the cream up over medium heat just until it begins to simmer.
Once the cream has reached a simmer, remove it from the heat and pour it over the chocolate chips. Stir the cream and chocolate until a smooth dark liquid forms. (This may take a minute or two.)
Once a smooth and evenly colored, dark liquid has formed, you have your ganache! Place it into the refrigerator to allow it to chill before using.
It is best to work with chilled ganache in this recipe. So, I recommend making it at least 1 hour before the laminating process in order to give it a sufficient amount of time to chill.
Laminating & Shaping
Once the dough has fermented, it’s time to add in the ganache and chocolate chips!
Before laminating the dough, make sure that you have a clean work surface that is (at least) slightly larger than 10×12 inches. Prepare a banneton by lightly dusting it with flour at this time as well.
To begin laminating, roll the dough out onto a clean work surface. Gently spread the dough out into a rectangle that measures approximately 10×12 inches. Try to avoid tearing the dough during this step (but if a tear does occur, simply pinch it shut with the remaining dough).
Next, place 2/3 of the ganache evenly across the dough. Don’t try to spread the chilled ganache over the dough, simply place it on in evenly sized little piles across the dough.
Follow by sprinkling 2/3 of the chocolate chips evenly across the dough.
Then, take one corner of the dough and gently fold it into the center of the rectangle. Then, take the opposing corner and do the same.
Place the remaining ganache and chocolate over the dough.
Next, begin the shaping process of the dough by taking one corner of the dough and gently folding it into the center of the rectangle/diamond shape. Then, take the remaining corner and gently fold it all the way across the dough. A rectangular shaped ball should appear at this point.
Then, sprinkle flour over the surface of the dough.
Place your hands on opposing sides of the dough and gently squeeze them together. Rotate the dough and repeat until an evenly shaped ball appears.
Gently placed the shaped dough into the prepared banneton. Cover it with a damp tea towel or plastic wrap and allow it to ferment in the refrigerator for 4-12 hours.
Baking
Preheat a covered, 5 qt Dutch oven at 500℉ for 30-60 minutes.
Once the Dutch oven is preheated, remove it from the oven and take the dough from the refrigerator.
Carefully roll the dough out onto a piece of parchment paper. You may (optionally) sprinkle flour over the surface of the dough and cut a design into it at this time.
Using the parchment paper as sling, place the loaf of bread into the Dutch oven.
Turn the oven down to 450℉. Cover the pot and place inside the oven. Bake for 25 minutes.
Remove the lid and bake for an additional 20 minutes.
Allow the bread to cool for a minimum of 2 hours before slicing. Then, enjoy!!
Chocolate Fudge Sourdough Bread
Equipment
- Kitchen Scale (measures in grams)
- Large Mixing Bowl
- Small Mixing Bowl
- Mixing Spoon
- Small Pot
- 5 QT Dutch Oven
Ingredients
Bread Dough
- 100 g Sourdough Starter
- 340 g Water (filtered, preferred)
- 50 g Brown Sugar
- 50 g Cocoa Powder
- 100 g Whole Wheat Flour
- 300 g All-Purpose Flour
- 10 g Salt
Fudge
- 114 g Heavy Cream
- 170 g Semi-Sweet Chocolate Chips (divided)
Instructions
Preparing the Dough
- Begin by mixing together the water and sourdough starter in a large bowl. Then, add in the brown sugar and coca powder. Stir until the sugar and cocoa is dissolved.Next, stir in the AP and Whole Wheat flour until the water is fully absorbed and a loose, shaggy dough forms. Sprinkle salt over the dough.
- Now that the dough is mixed together, cover the bowl with plastic wrap or a damp tea towel for 30-60 minutes. This allows the flour to properly absorb the water.
- Begin a series of 5 stretch and folds. The first 3 stretch and folds should be approx. 15 minutes apart, and the last 2 stretch and folds should be approx. 30 minutes apart.( S&F 1 -15 min.- S&F 2 -15 min.- S&F 3 – 30 min.- S&F 4 -30 min.- S&F 5)
- Once the stretch-and-folds have been completed, allow the dough to ferment, covered and at room-temperature, for 6-10 hours (starting from the time that the dough was initially mixed). The cooler the room is, the longer the dough will have to ferment.
Preparing the Ganache
- Bring 114 g of heavy cream to a boil on the stove. Meanwhile, place 114 g of chocolate-chips into a heat-safe bowl. As soon as the heavy cream begins to boil, remove it from the heat and pour it over the chocolate chips. Stir until the chocolate is fully melted and the cream is thoroughly mixed in.Place the ganache in the refrigerator to cool. It is best to use chilled ganache, so feel free to leave it in the fridge right up until it is time to shape the dough.Note: prepare the ganache at least one hour before the dough is ready to shape.
- Set the remaining chocolate-chips to the side.
Lamination & Shaping
- Once the dough is finished fermenting, place it onto a clean work surface.
- Gently spread the dough out into a 12×10 inch rectangle. Try to avoid ripping the dough or flattening it too much.
- Place 2/3 of the ganache over the entire surface of the dough. The ganache can stay in small, spoon-sized "dollops" (it does not have to be spread out). Then, sprinkle 2/3 of the remaining chocolate chips over the dough.
- Next, gently fold one corner of the dough into the center of the rectangle. Then, take the opposite corner and do the same. You should be left with a "diamond" sort of shape. Place the remaining ganache and chocolate-chips on the dough.
- Then, fold the next corner into the center of the dough (be careful to not dump the ganache or chocolate chips off). Follow this by taking the remaining corner and stretching it all the way to the opposite end of the dough. You should be left with a tall, rectangular shape.
- Now, you may begin shaping the dough. First, sprinkle the surface of the dough with flour to prevent your hands form sticking. Then, place one hand on each side of the dough. Gently press your hands together to encourage the dough to take a more "ball" like shape. Do this on all sides of the dough until a ball forms. Note: Be careful not to stretch the surface of the dough during this step. The surface of the dough is prone to ripping due to the ganache and chocolate-chips placed inside.
- Once the dough has been shaped, place it into a well-floured banneton. Cover the banneton with a damp tea towel and place it in the refrigerator for 4-12 hours for the cold-ferment.
Baking
- Preheat a covered, 5qt Dutch oven at 500℉ for 30-60 minutes.
- Once the Dutch oven is preheated, remove it from the oven and take the dough out of the refrigerator.
- Carefully place the dough onto a sheet of parchment paper. You may (optionally) sprinkle flour over the dough and score a design into it at this time.
- Using the parchment paper as a sling, place the dough into the Dutch oven.
- Bake the bread, covered, for 25 minutes at 450℉. Note: Make sure to turn the oven down to 450℉ after the bread is placed inside.
- Then, uncover the bread and bake for an additional 20 minutes.
- Allow the bread to cool for a minimum of 2 hours before slicing. This will help to prevent the bread from becoming "gummy" on the inside. Then, enjoy!
Notes

Did you make this recipe? If so, I would love to see it! You can email me a picture directly at autumn@handmadebyautumn.com 🙂